

 I hope you all had a great summer and that you’re ready for a new season full of new creative adventures!
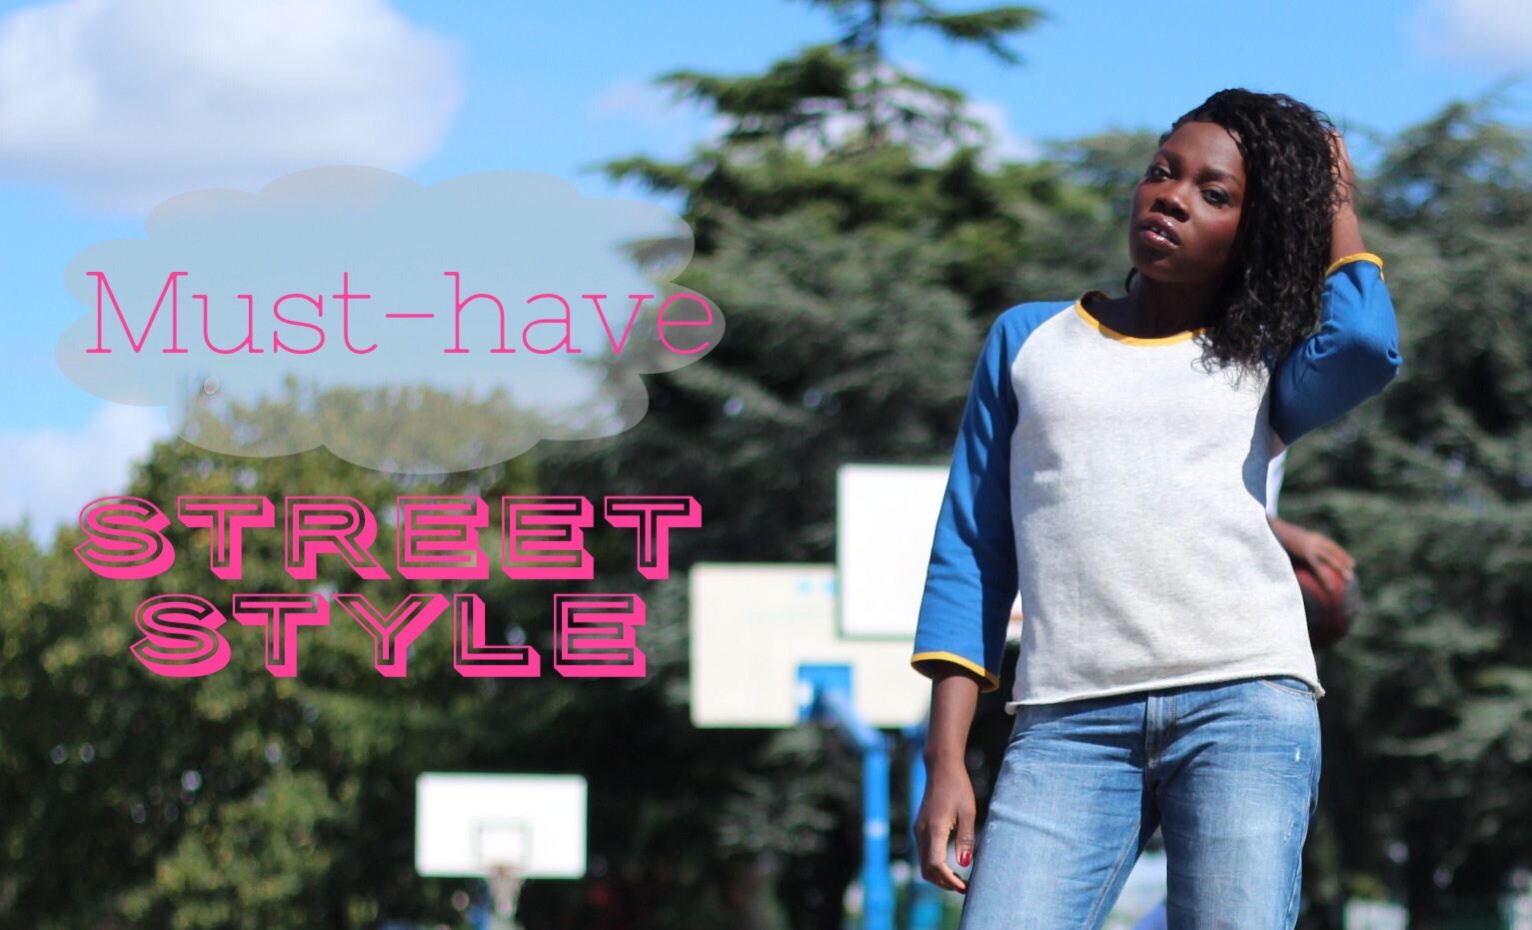
Let’s ease back in with a project that’s been on my To-Do list for quite a while: the Must-have top from Aime comme Marie patterns.
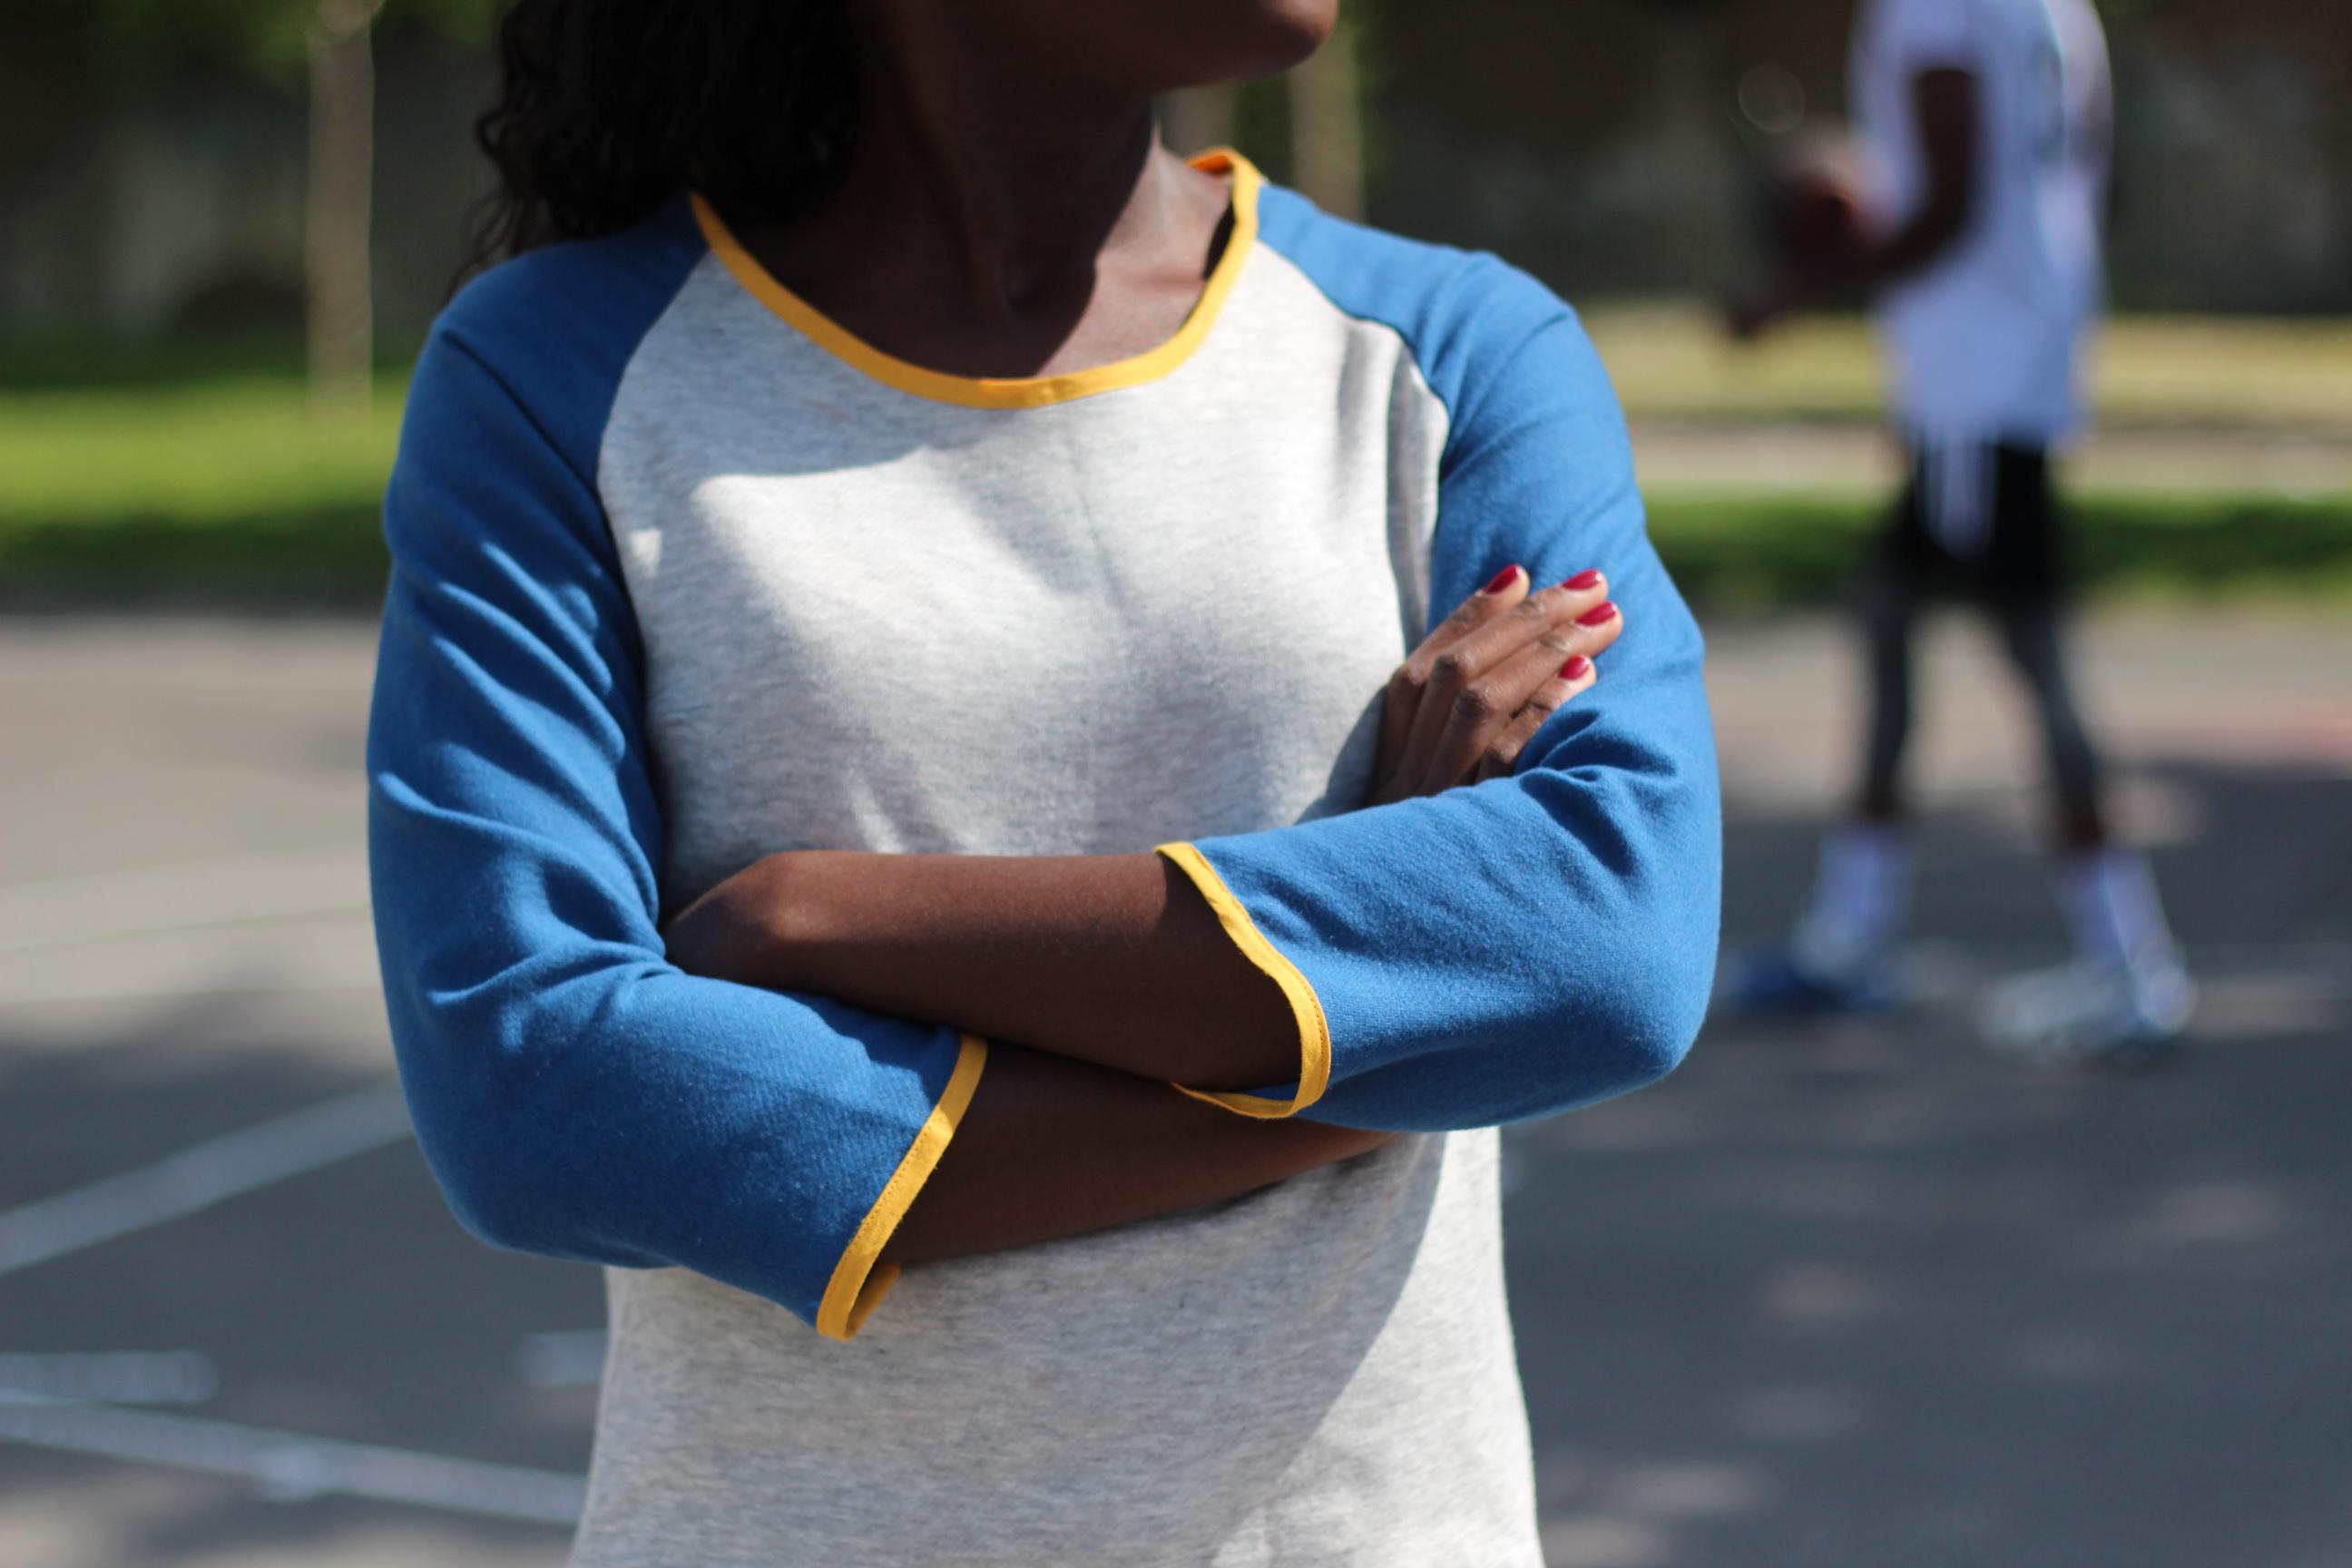
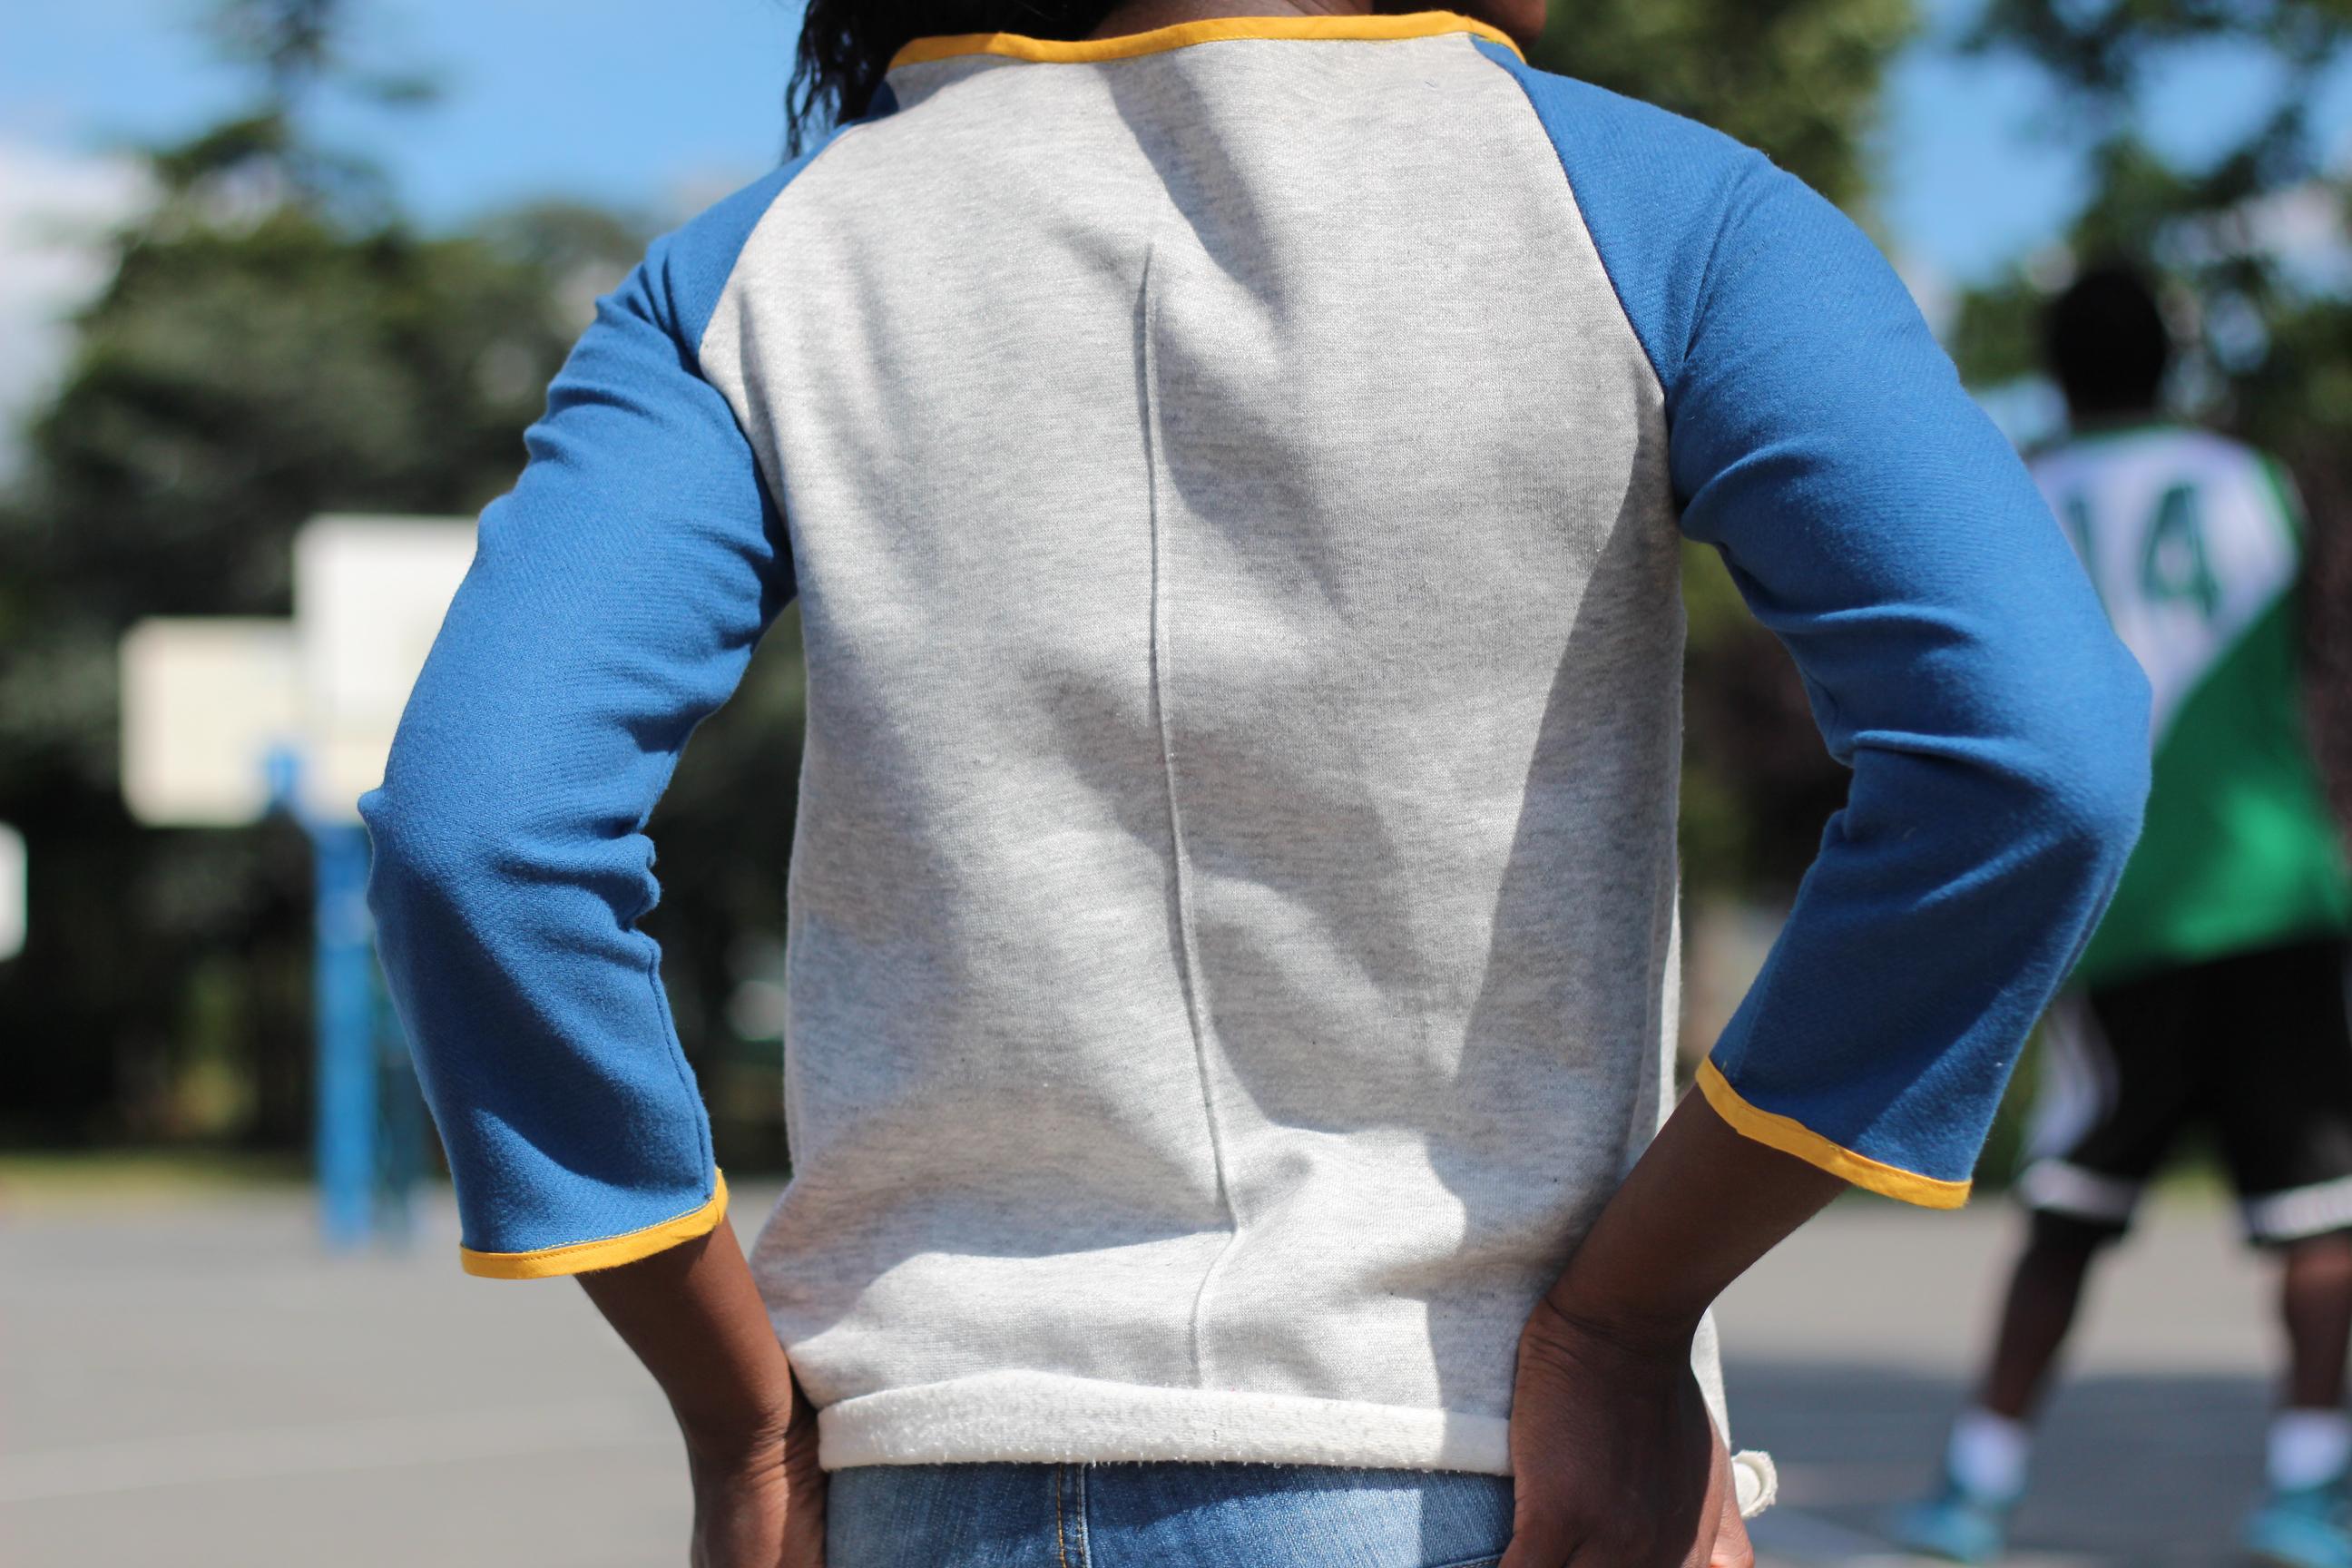
Must have is a little raglan-sleeve top that’s quick, easy, and fun to make. Any combination of colours, fabrics, bias binding, and piping is possible, leaving plenty of room for your creativity. Here, I used sweatshirt fabric for the body and a lightweight wool for the sleeves. I also added yellow bias binding as a finish for the neckline and sleeves. I also lengthened the sleeves to make this top something you can wear in autumn too—an easy everyday top with jeans, like here.
ENG – Here we are again after a few weeks of absence from the blogosphere. I hope y’all had a great summer and that you are ready for a new season full of new creative adventures!
Let’s get the machine running slowly for new beginning. Starting with this project that has been on my To-Do list for some time now: The Must-have top an Aime comme Marie pattern.
Must have is a little raglan sleeve top that is very easy, quick and fun to sew. All combinations of fabric, textures, bias binding, and piping are possible with this pattern. This project really gives you the opportunity to express your creativity. I’m using here a heavy jersey fabric for the body, and some light wool for the sleeves. I also added a yellow bias binding to end the collar as well the sleeves. As you can see I made the sleeves longer so that this top can be worn also in autumn, like an easy top within jeans, as it is the case here.
_______________________________________________________________________________________________________________
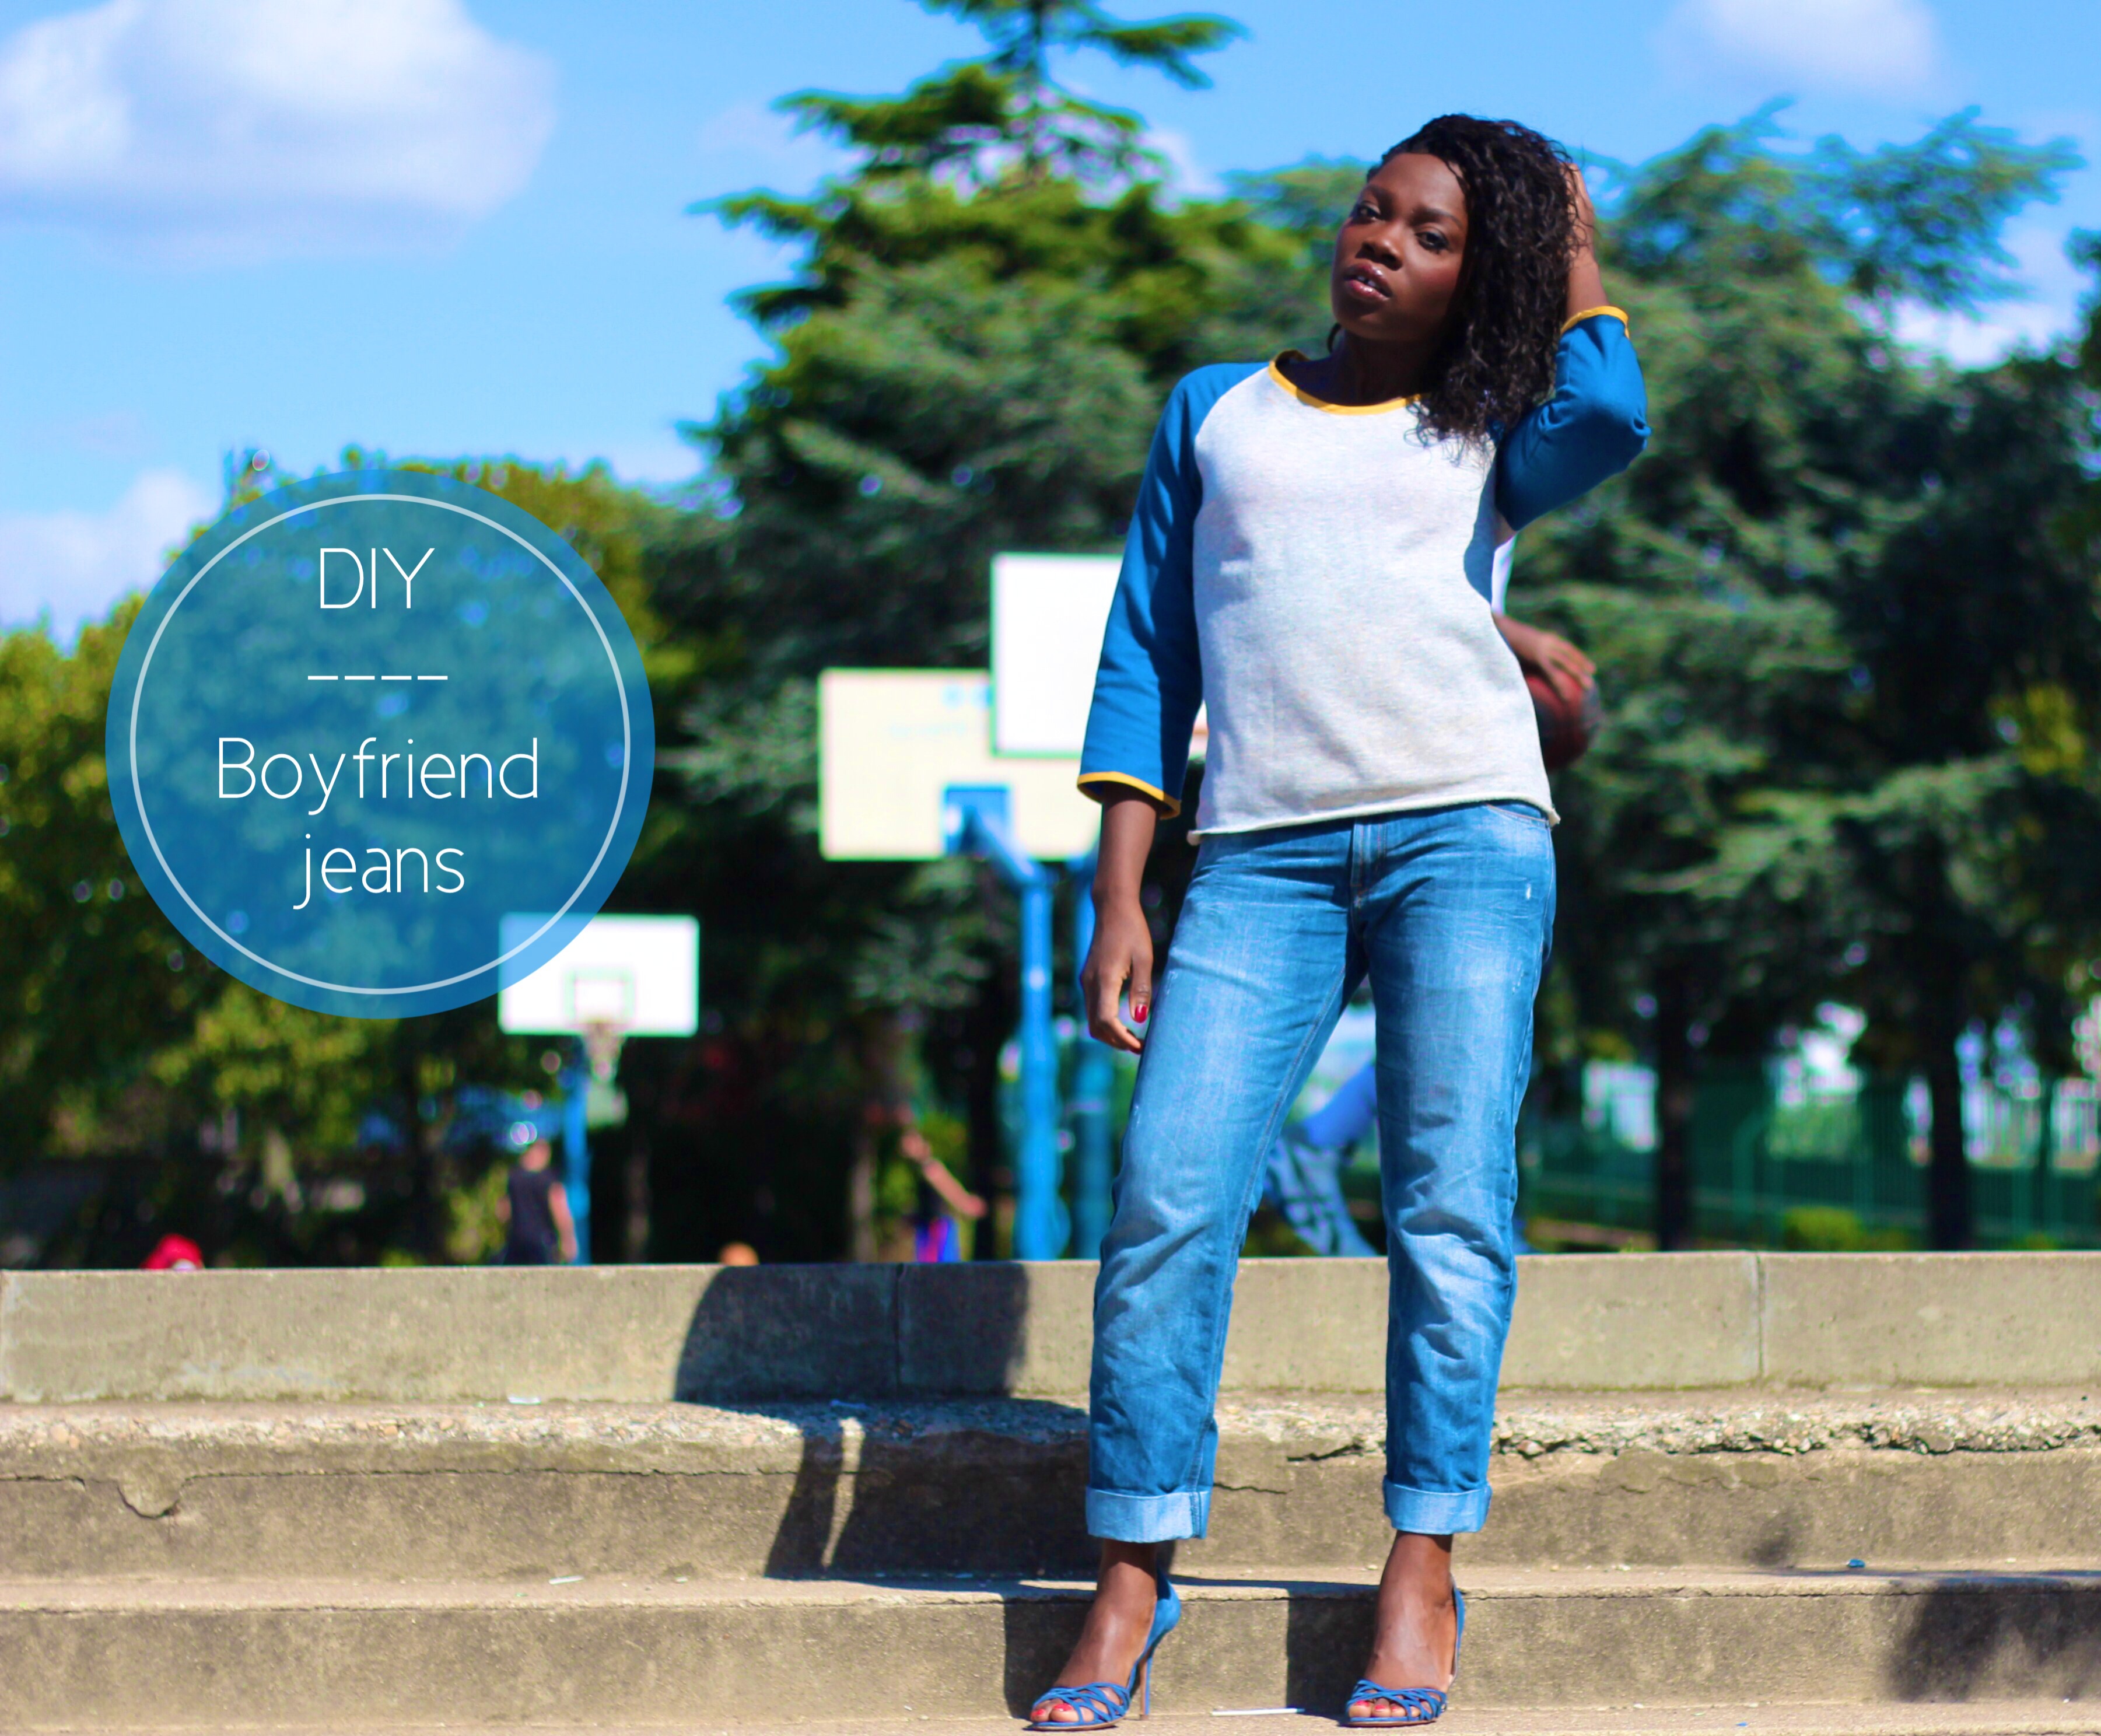
I actually thought it would be a good idea to do a little aside to explain the story behind the jeans I’m wearing here.
I’d wanted a pair of boyfriend jeans for a while, but they were too expensive in stores for what they were (e.g. €49.99 at Mango).
–> So one Saturday I stopped by Kiabi, headed to the boys’ section, and picked up a pair of jeans in 14/16 years (I’m a size 36) that cost barely around ten euros.
–> Once I got home, I used a pair of scissors to cut off about 8 cm.
–> I wanted the hem to be a bit narrow (without going full skinny), so I tapered the bottom with a diagonal seam, starting 20 cm from the hem and sewing a slanted line down to the end of the trousers (the hem).
–> Once I’m happy with how it looks on, I wear my trousers and fold the hem up two or three times until my ankle shows. Slip on a pair of little heels and voilà!
You can also add small rips or worn effects at the knees or thighs, use a little bleach or paint. It all depends on where and how you want to wear it. Don’t hesitate to commandeer your son’s, brother’s, or nephew’s jeans—there’s an extra charm when the jeans have already been worn.
ENG– I thought i would write this little DIY in order to explain the story of the jeans I am wearing here.
I wanted a pair of Boyfriend jeans for sometime now, but they were too expensive in the store (ex. 49,99 at Mango).
–> So one Saturday morning I stopped at Kiabi (dept. store), headed to the boy’s section and grabbed a pair of 14/16 year old blue jeans (I am size 36 fr). It cost me a little more than 10 euros.
–> Once I got home, I used a pair of scissors to cut about 8cm away from the bottom.
–> I wanted the bottom to be a little narrow ( without making it too slim cut) so I narrowed the it by sewing a slanted hem at about 20 cm from the bottom, all the way down to the bottom of the trousers.
–> Once I was Ok with the trousers worn and the way it fits and looks, I folded the bottom 2-3 times until my ankle is visible. A pair of heels and there we go!
You can decide to make rips an cuts, use bleach or paint. All depends on where and how you want to wear your jeans. Do not hesitate to borrow (for ever) a pair of jeans belonging to your son, brother, nephew, as these pants have a certain charm if they were already worn.