

My dearest readers,
It’s been a little while since I last posted. It’s not that I haven’t been thinking of you or that I’ve stopped sewing, but simply because I feel like it’s time for things to change with this blog. To be completely transparent with you, I’m feeling a sense of monotony (especially for you) in the routine of sewing a garment –> striking a pose –> then CLICK-Photo –> and WordPress: Uploading the post. And then doing it all over again the following week. “How long is this going to go on for?” I asked myself a few months ago. For those of you who know me well or follow me on Instagram, you probably know that I do a lot of little projects ranging from interior decor, painting and wall embellishment, furniture restoration or upcycling, a bit of men’s styling, and of course sewing and world cuisine. I can hear you saying, “Whoa… things are going to be all over the place!” Not really. The thing is, I feel there are other things I need to take the time to share with you through this platform, because I feel like I’m not letting you fully benefit from the entirety of my creative life. As you’ve gathered, I want to share projects that give you ideas, inspire you, and above all, are achievable and practical for most of you.
That’s why today, my creative madness and I are TOTALLY back, with a project that will make you see your children’s toys in a whole new light; and if like me you don’t have children yet, here is a great reason to start hanging out in the toy aisles of our supermarkets again.
I’m sure you’ll agree that when bedtime comes, it’s often a struggle to find the end of the charger to plug in your phone for the night. At my place, the foot of the bed is often a total mess, so I’m sharing my solution with you in the form of a quick, fun, and charming little creative project.
- Time: 10 minutes
- Cost: 8 euros
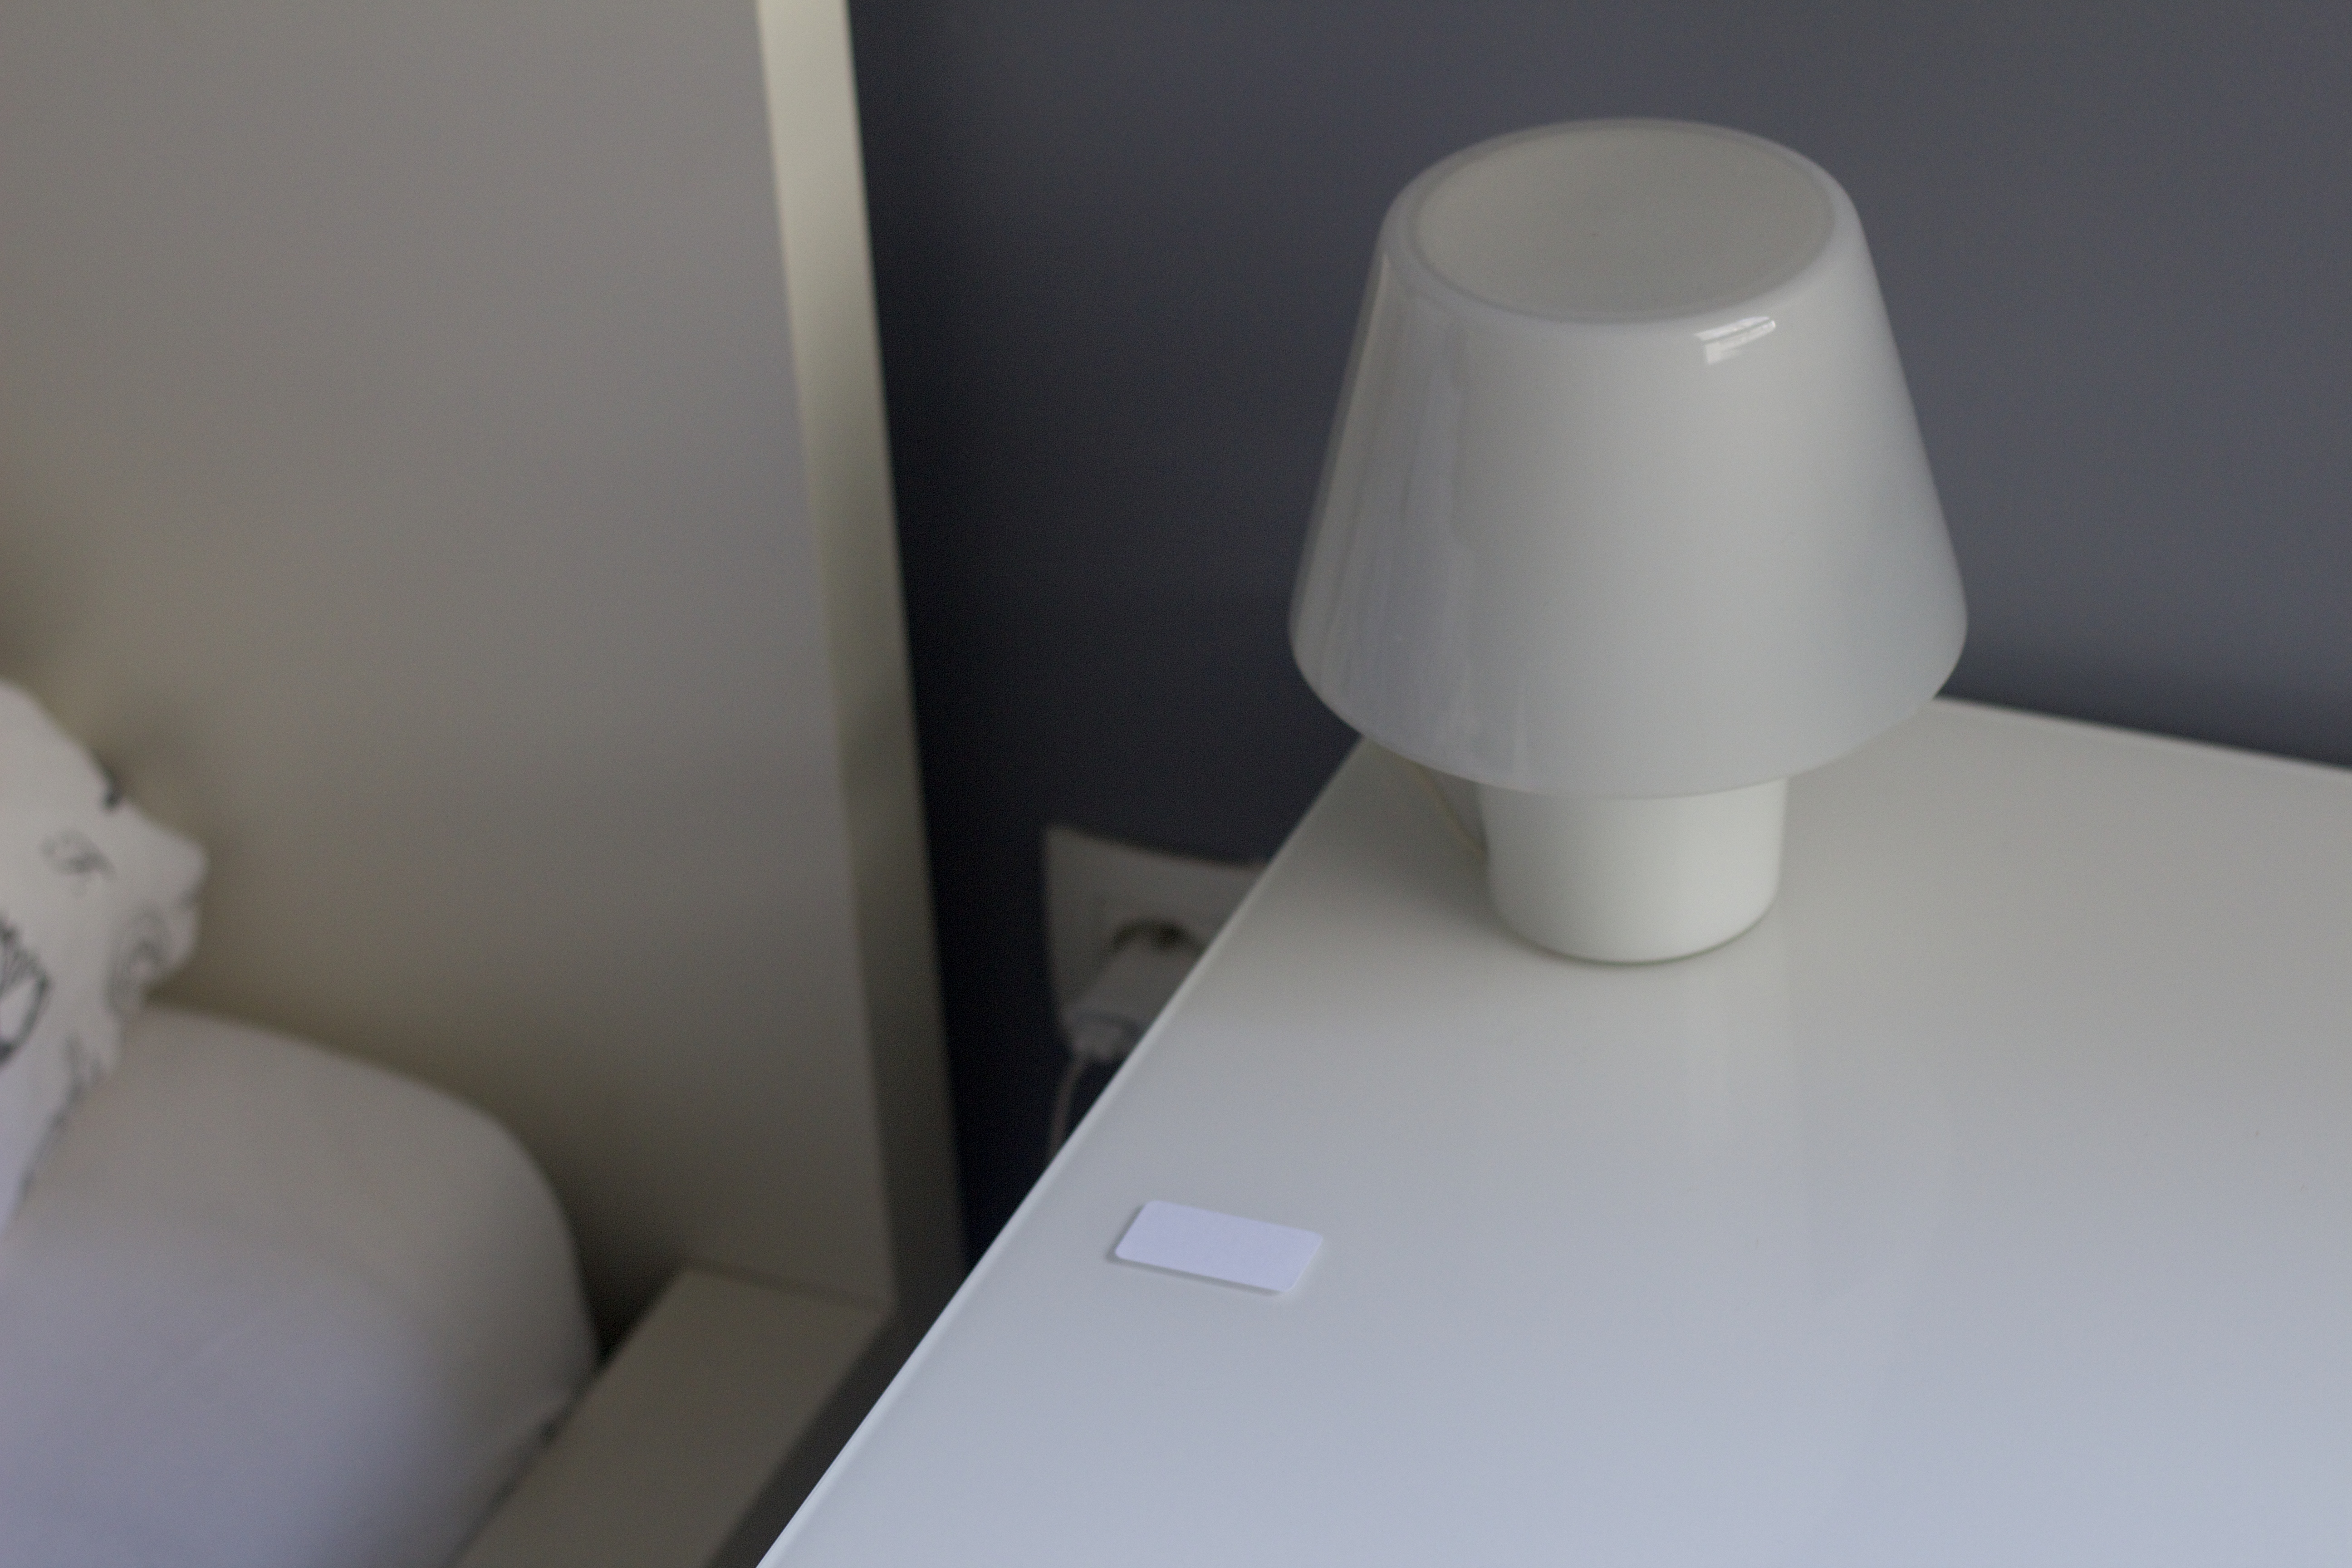
To start, prepare the piece of furniture where you usually charge your phone/tablet by dusting and wiping it down. Then, stick on the label that will serve as the base for your project.
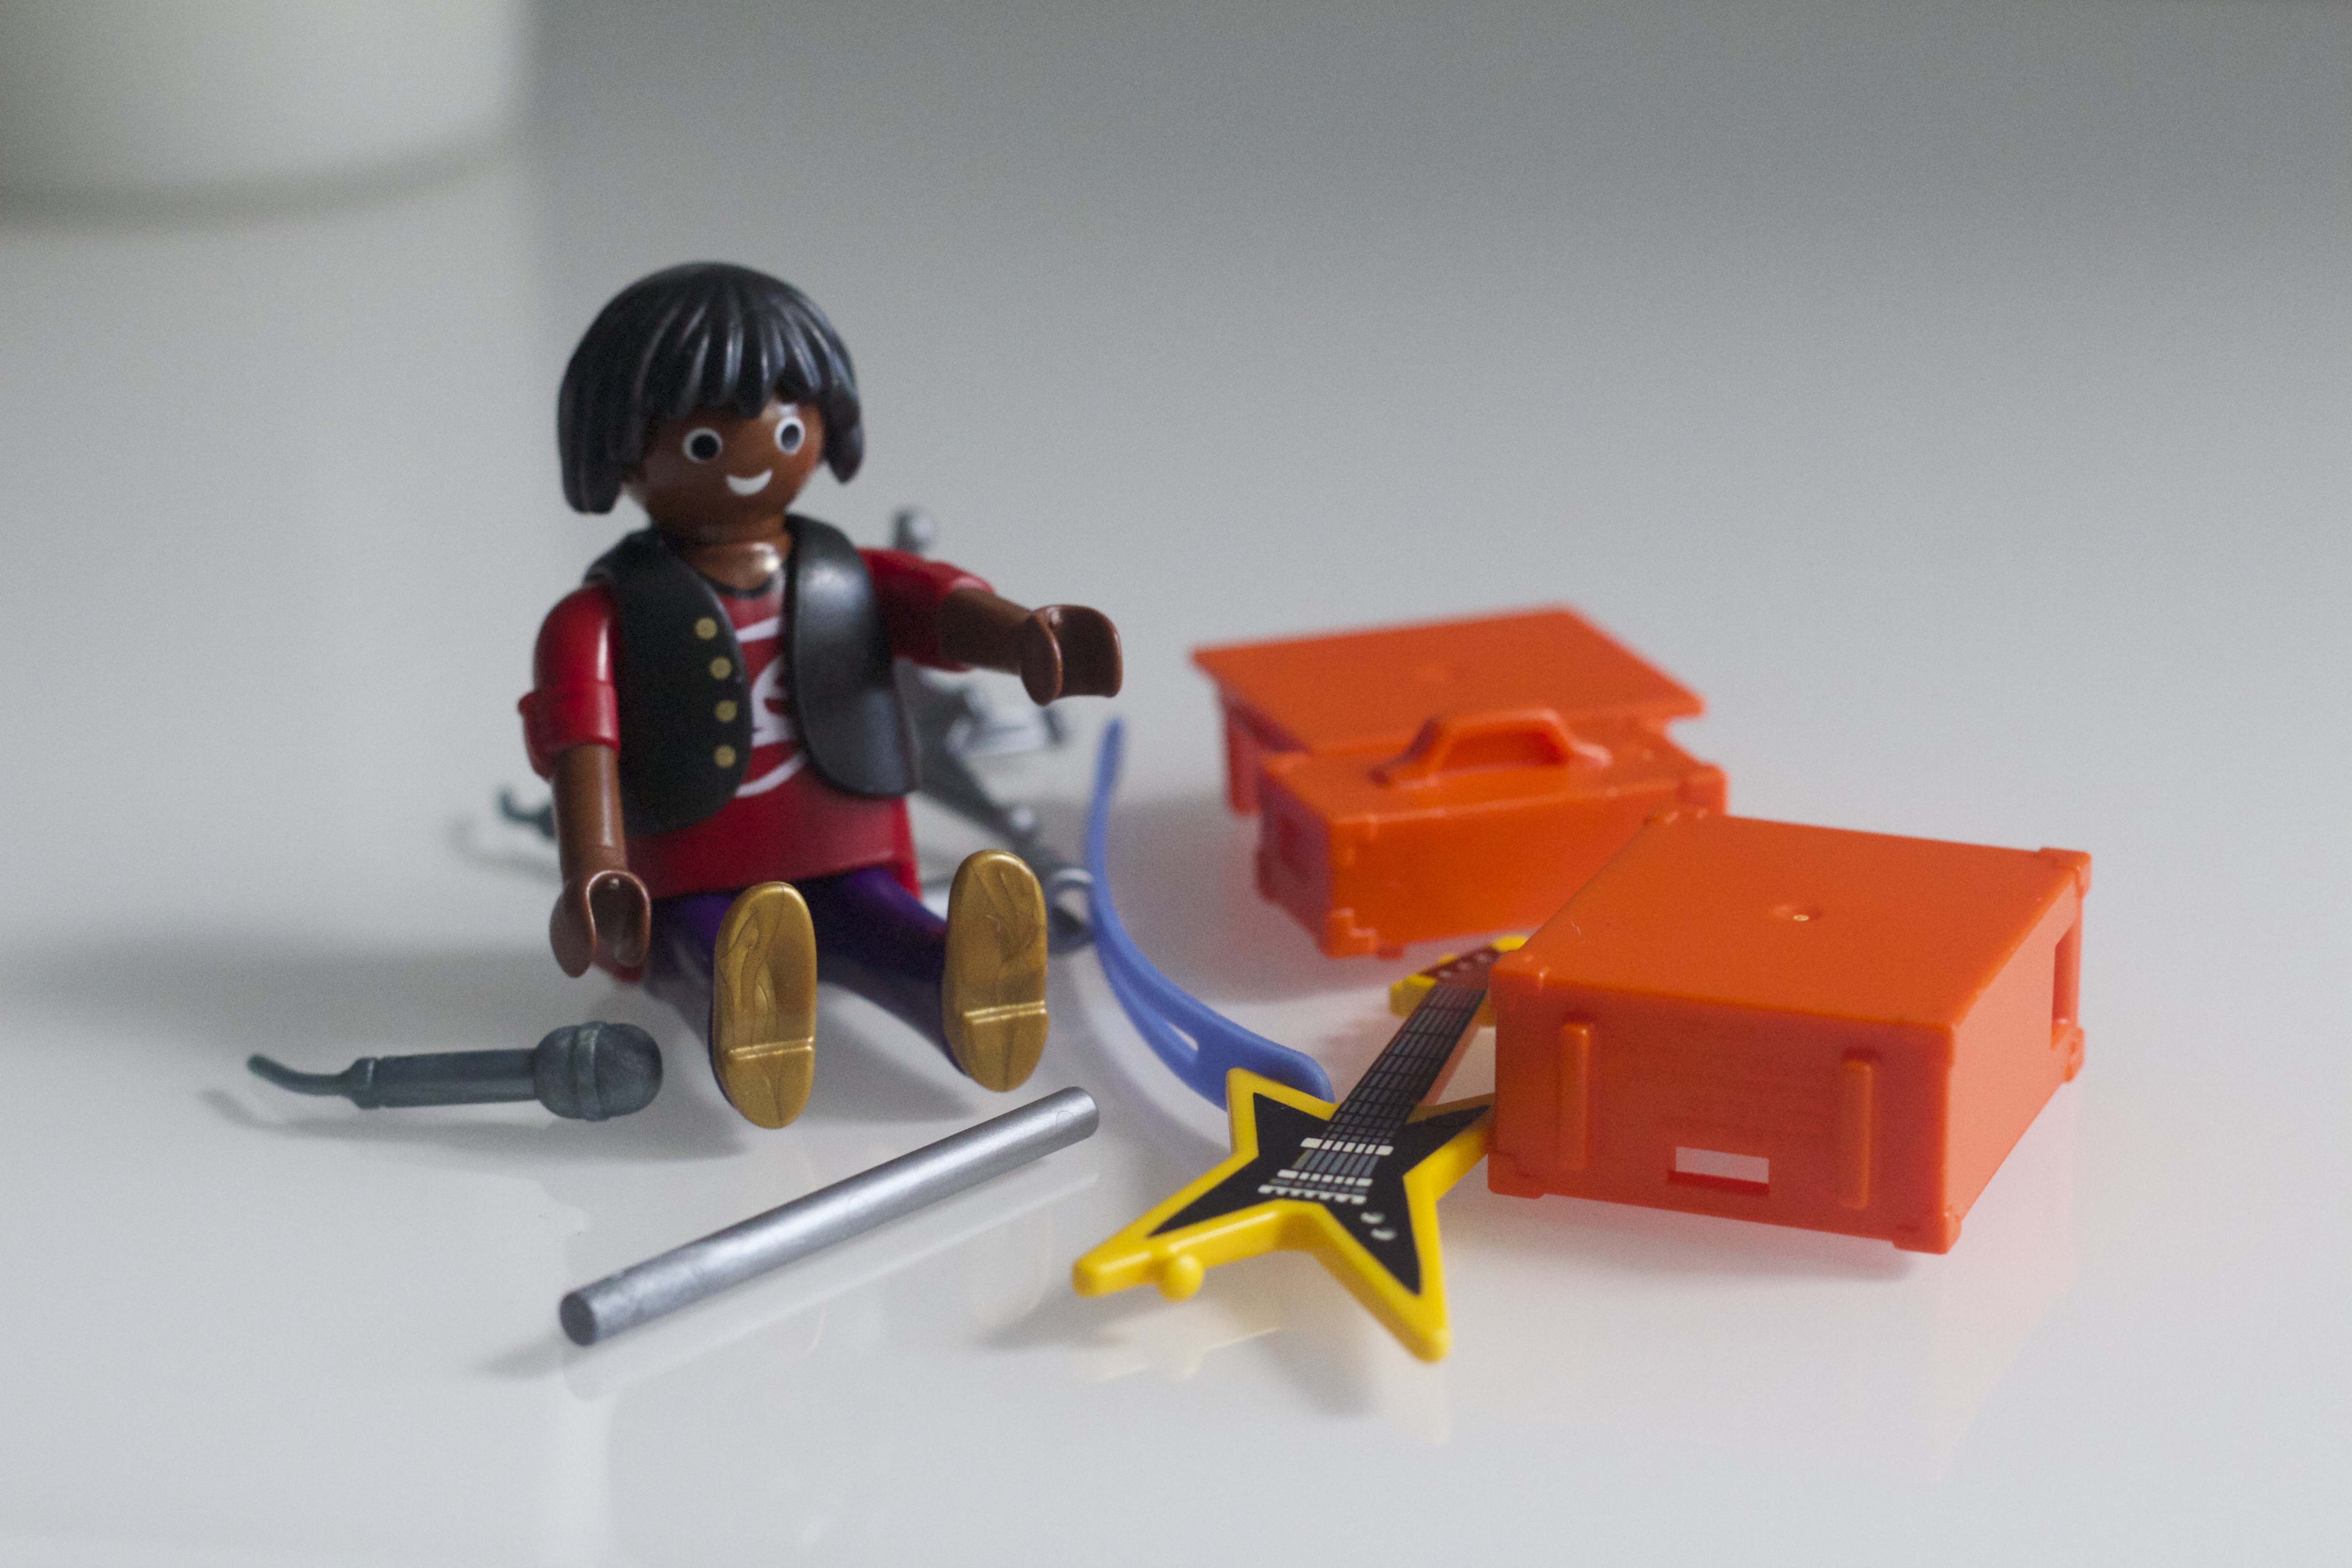
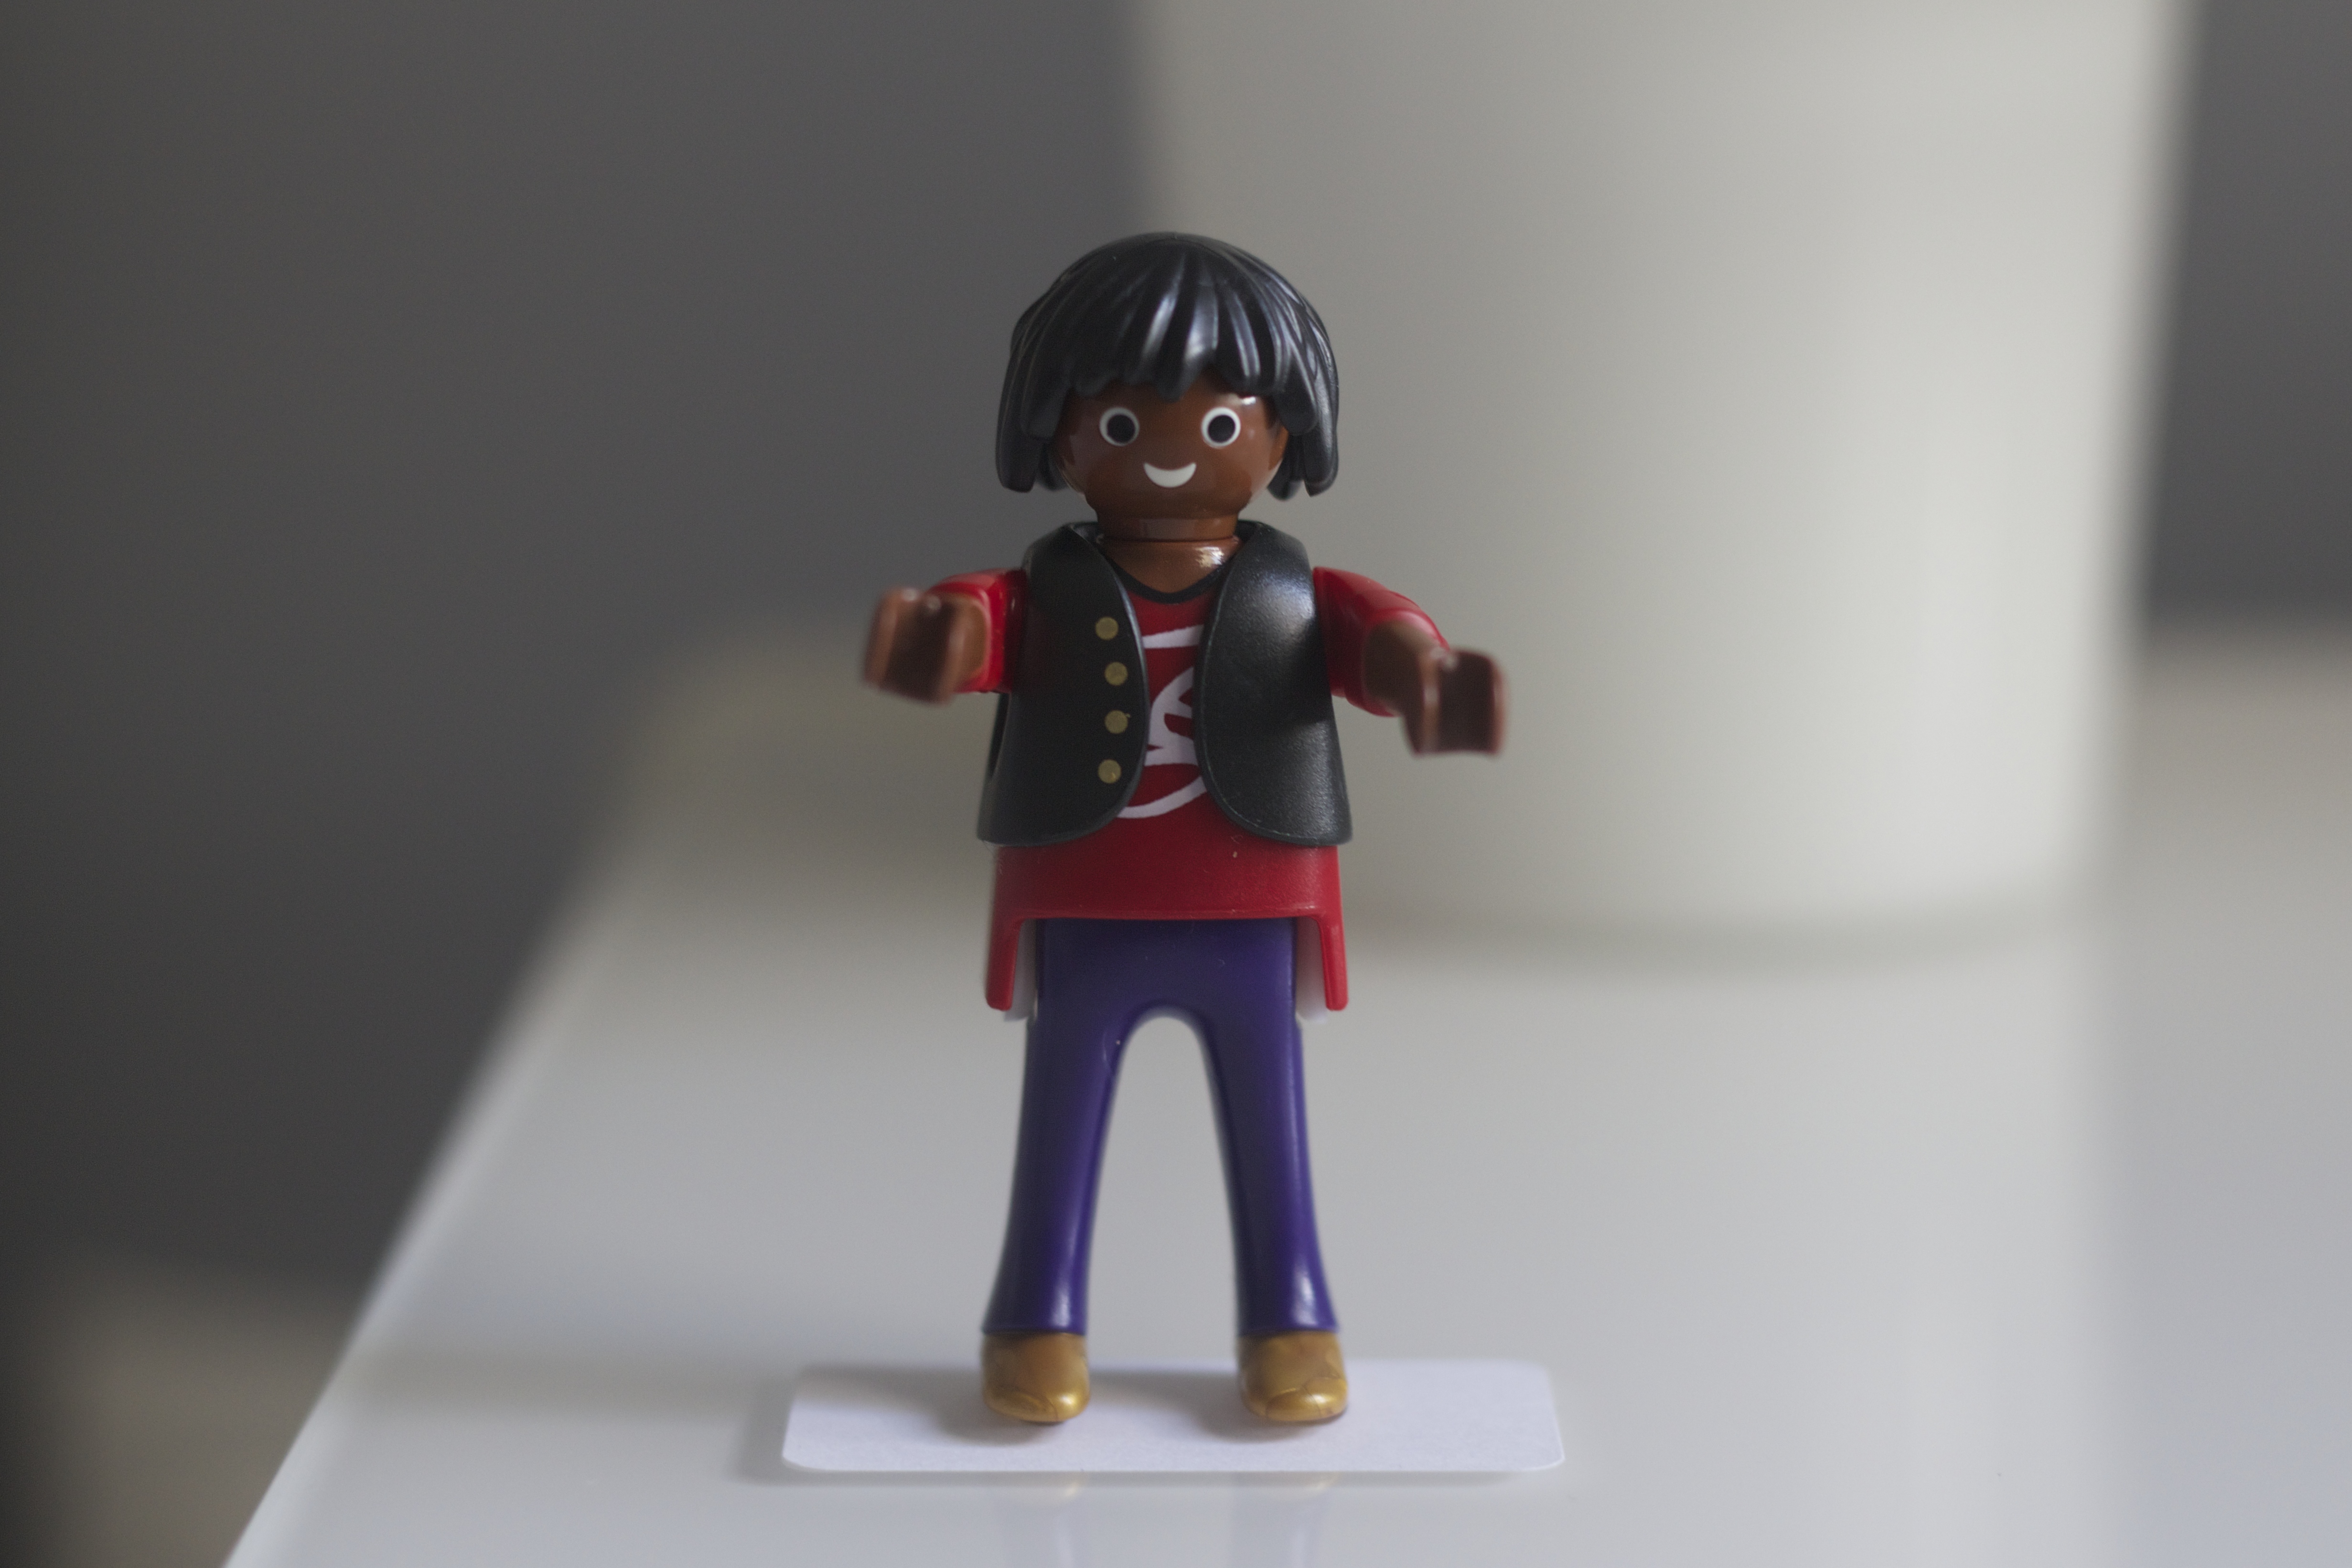
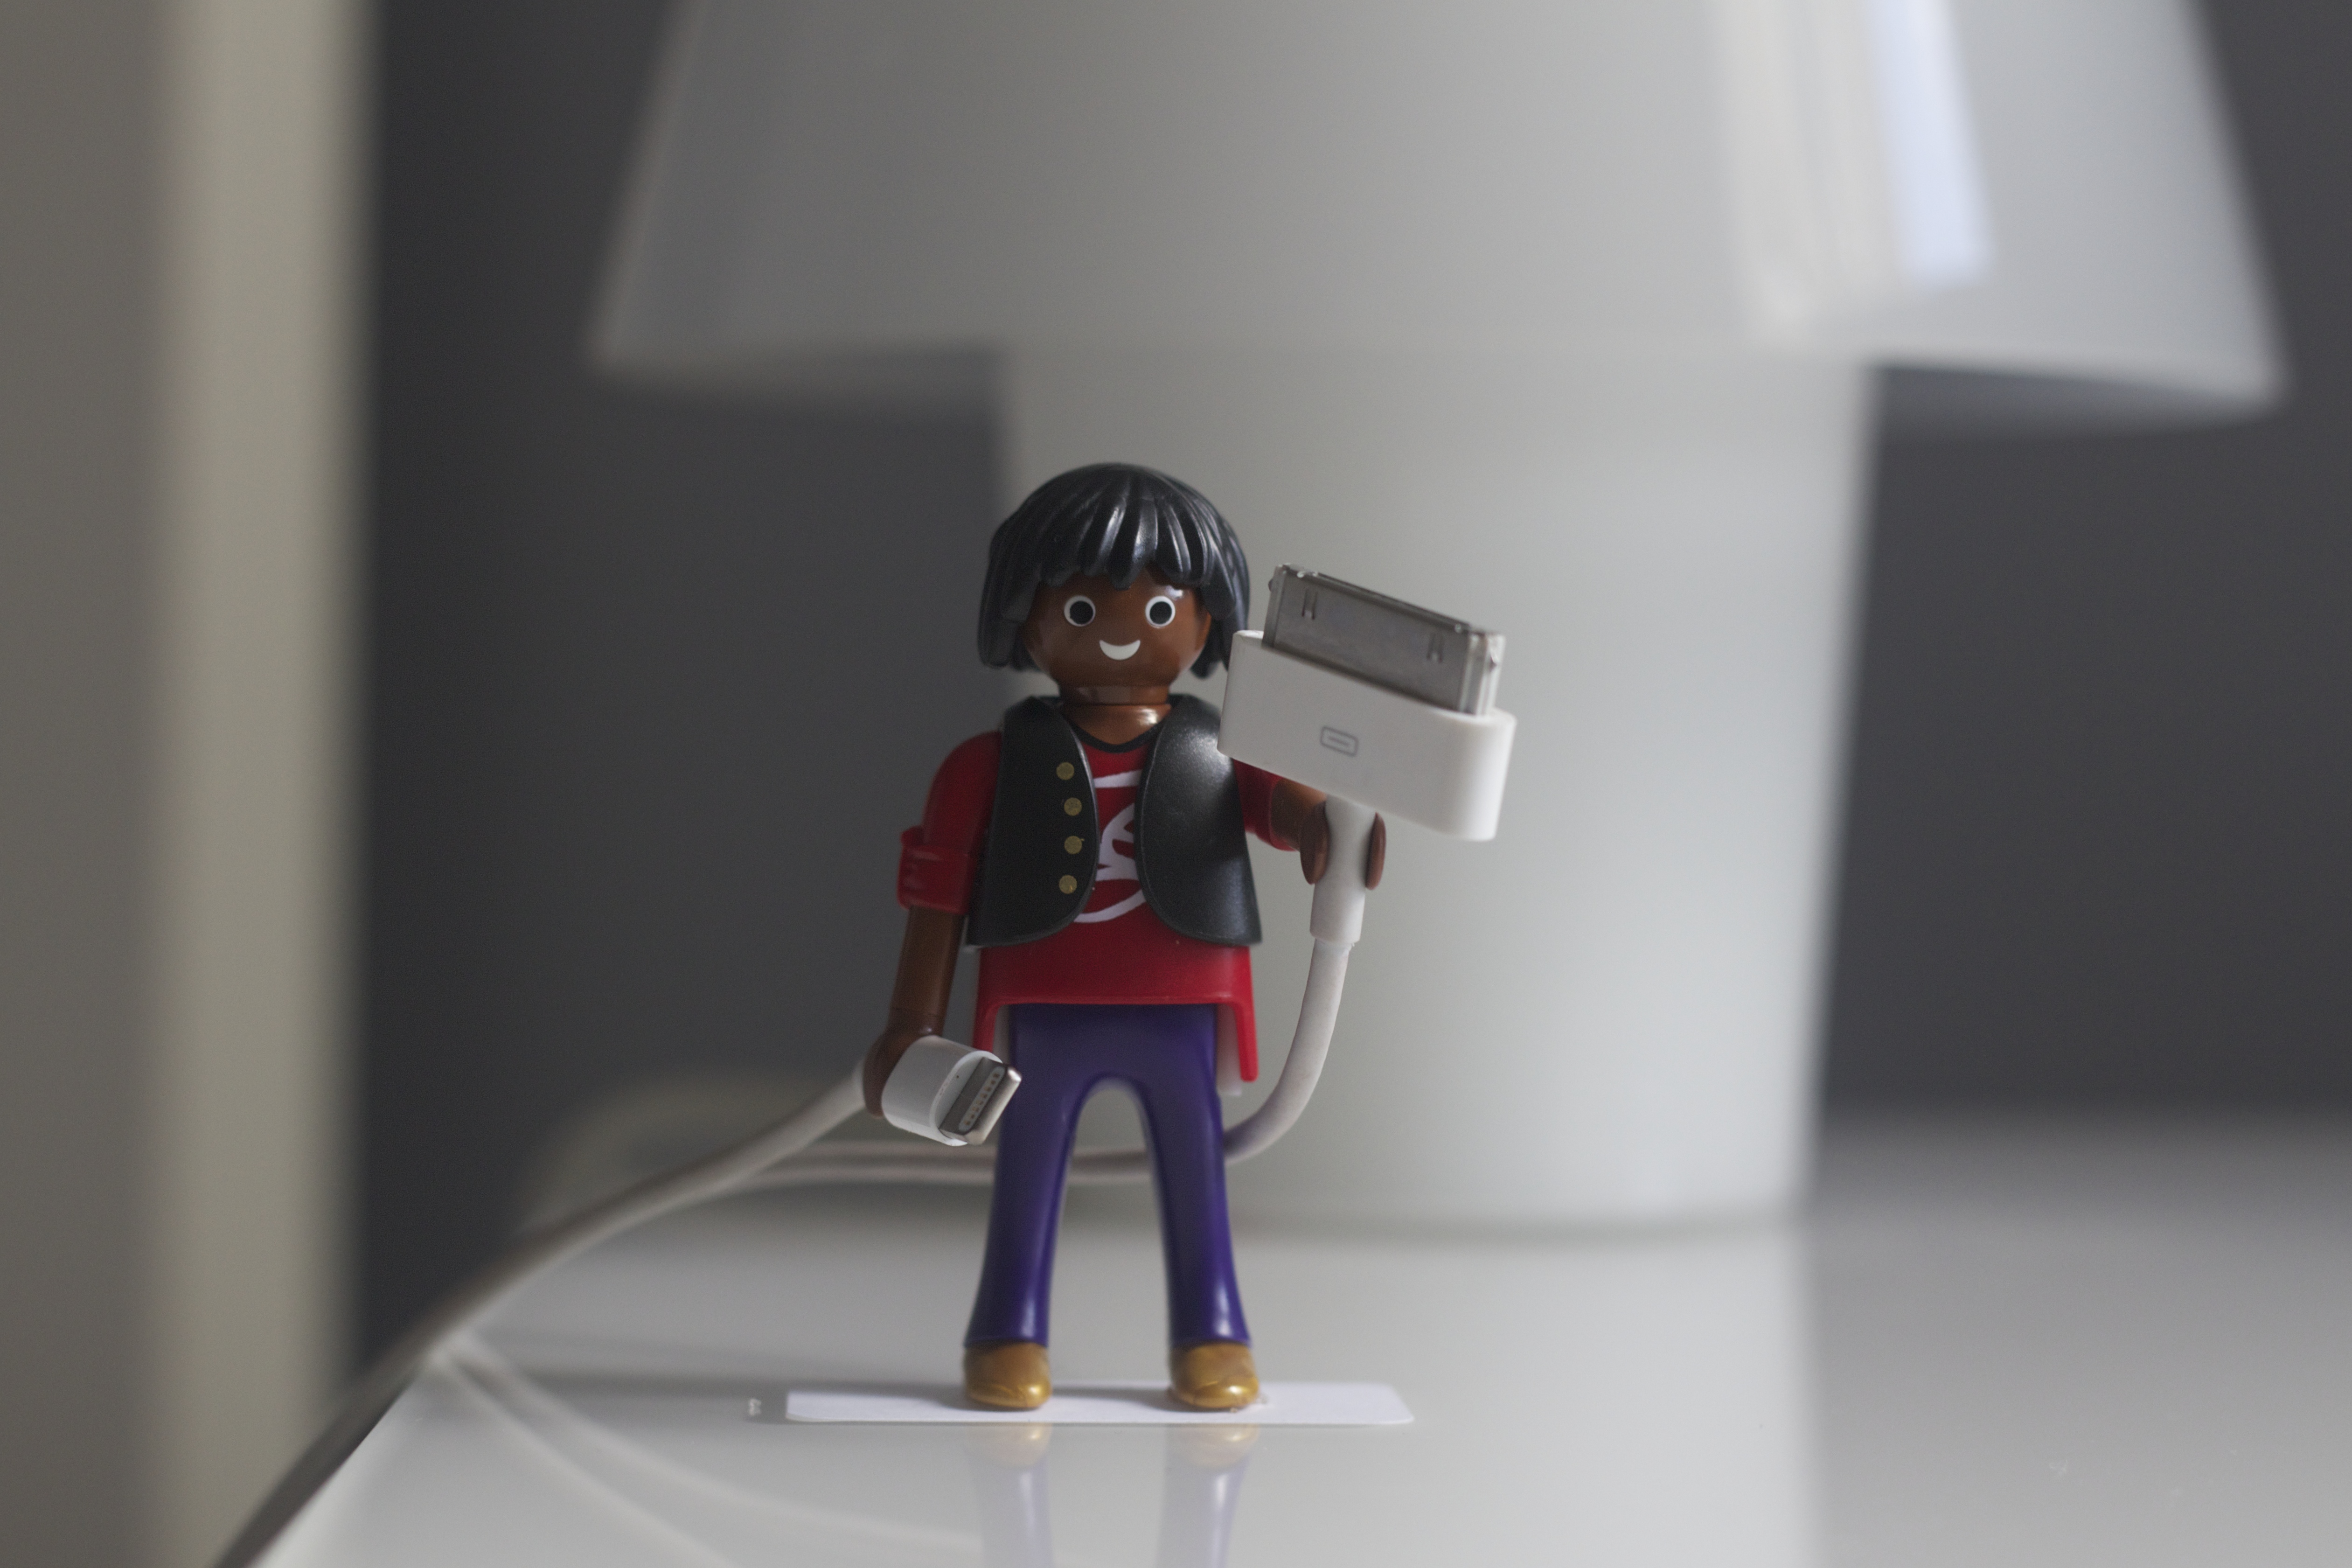
Open your toy pack and get the Playmobil ready: In this image, the Playmobil is sitting. But if you want him to stay standing, you’ll need to glue the torso and lower body together to make the toy’s body rigid.
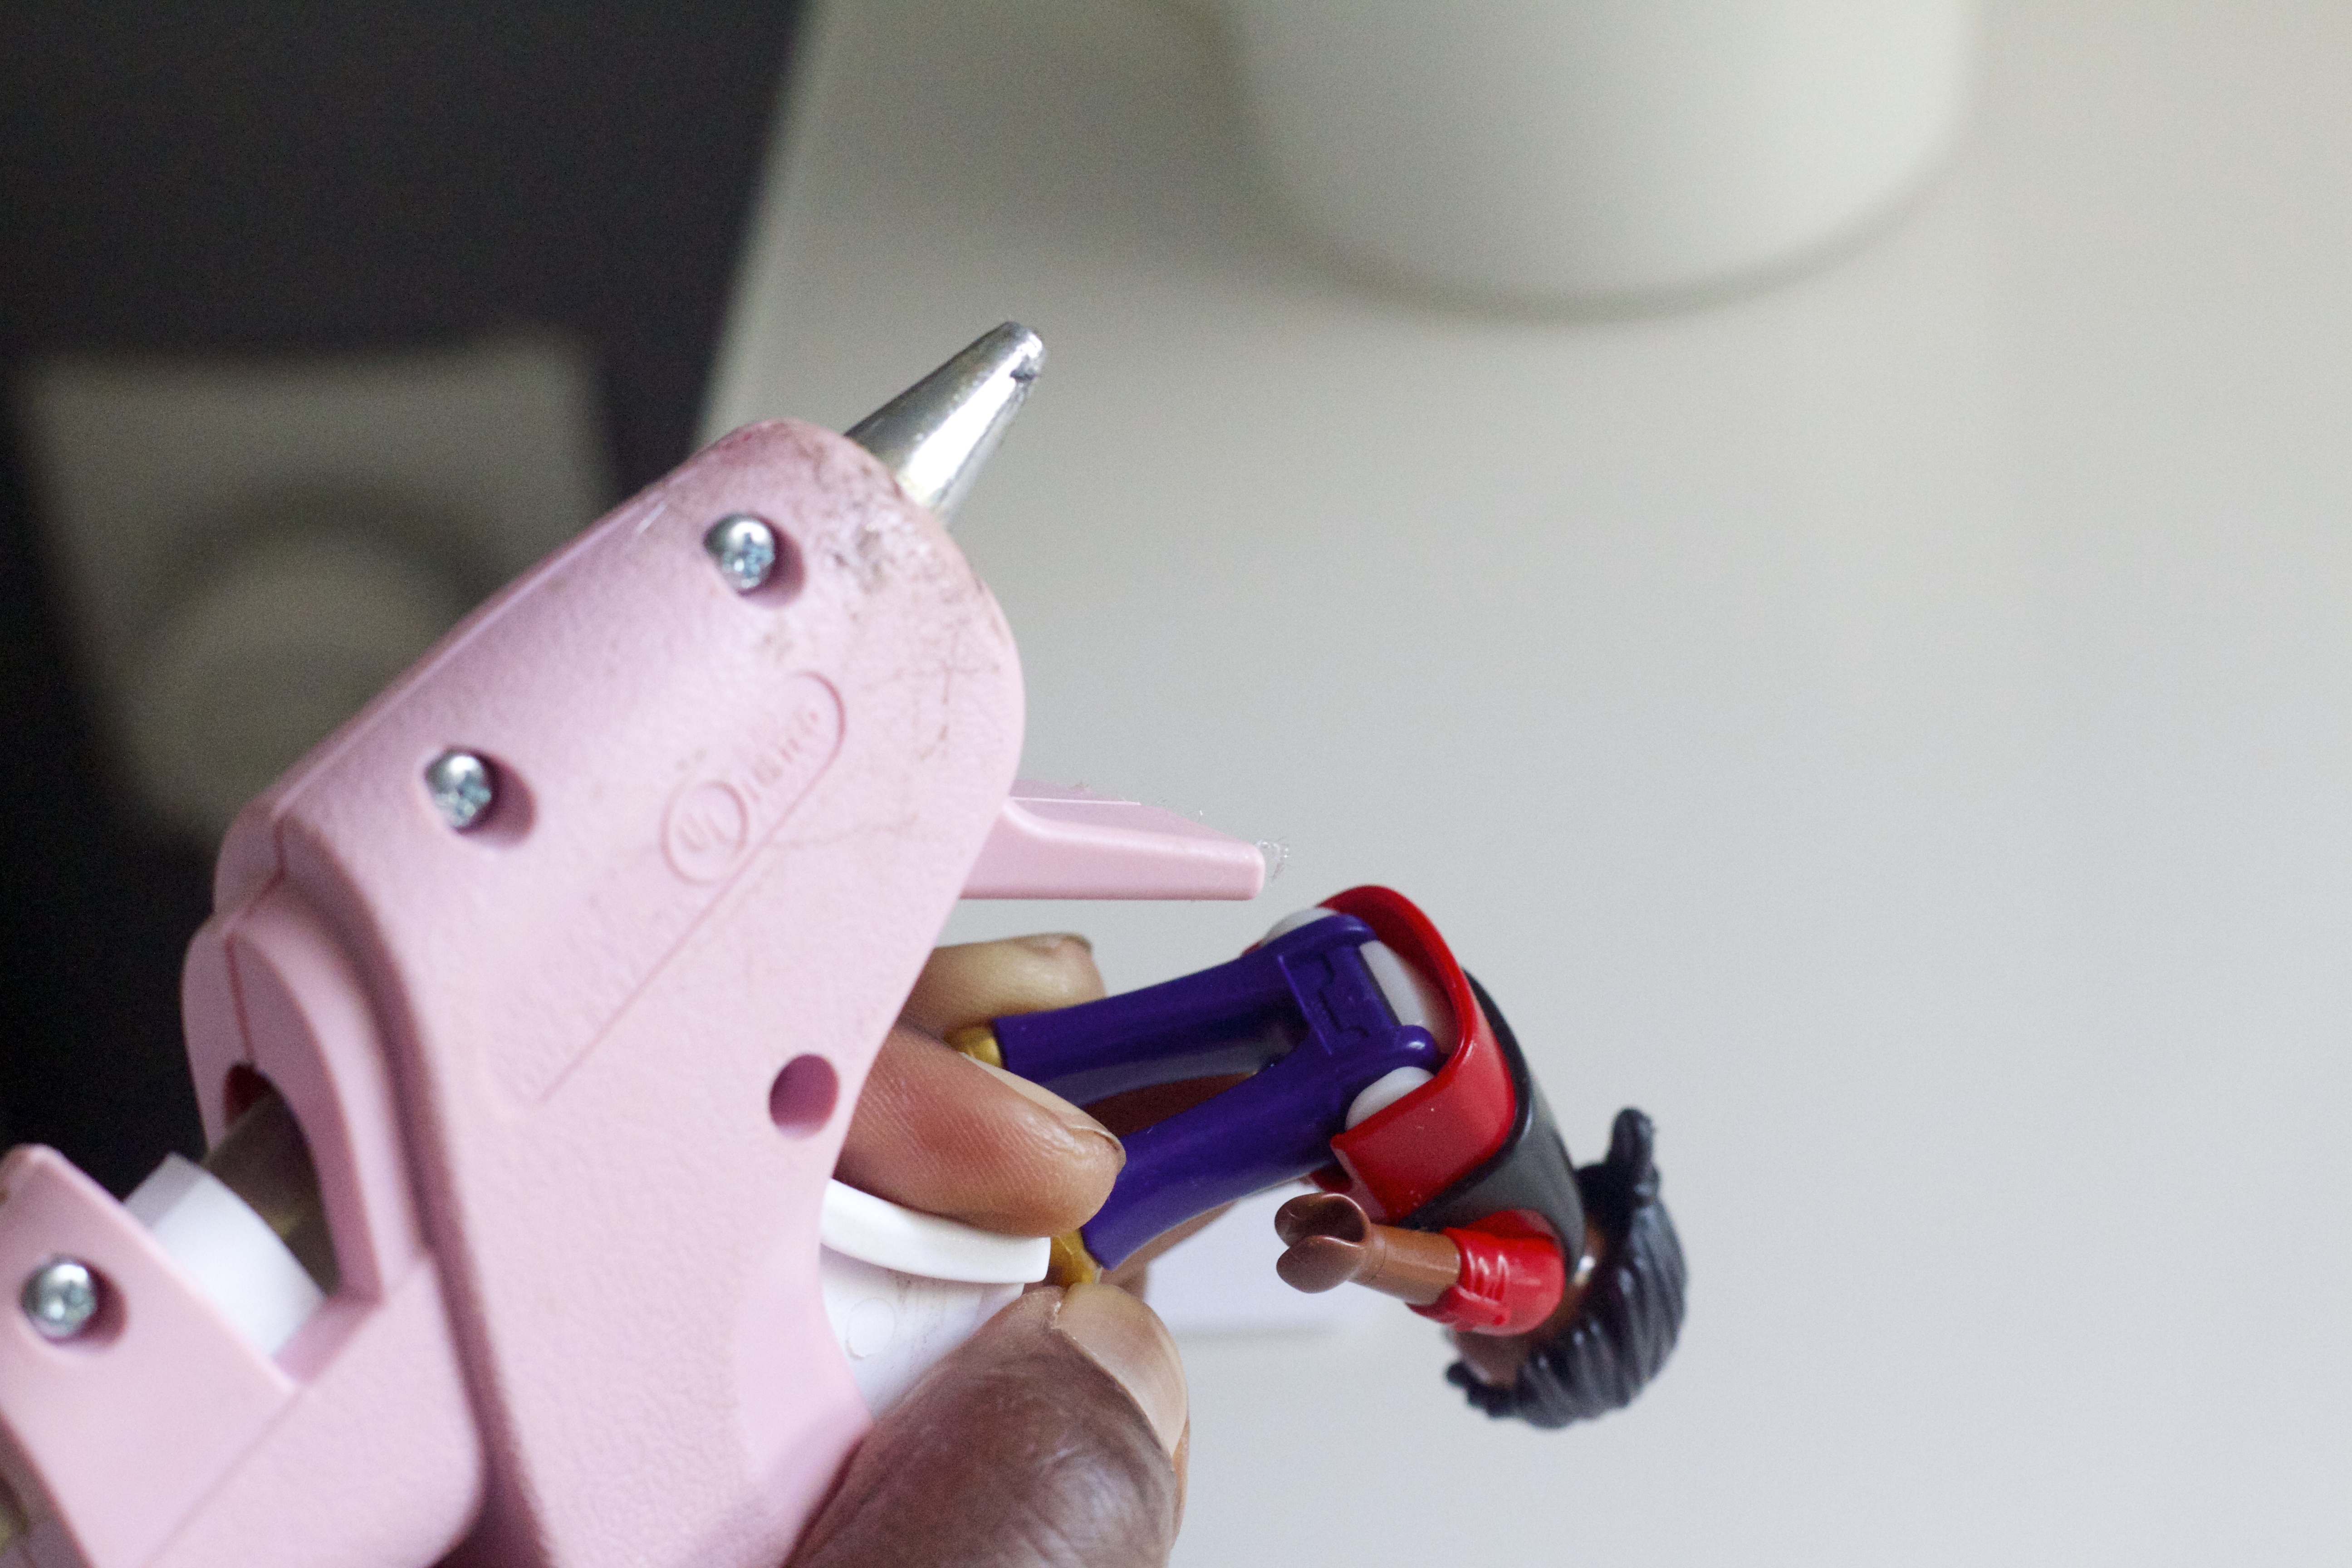
To do this, take your glue gun (you can find a mini version like mine here for €4.92) and apply a small amount of glue to the part where the torso and lower body meet (the bottom, basically!).
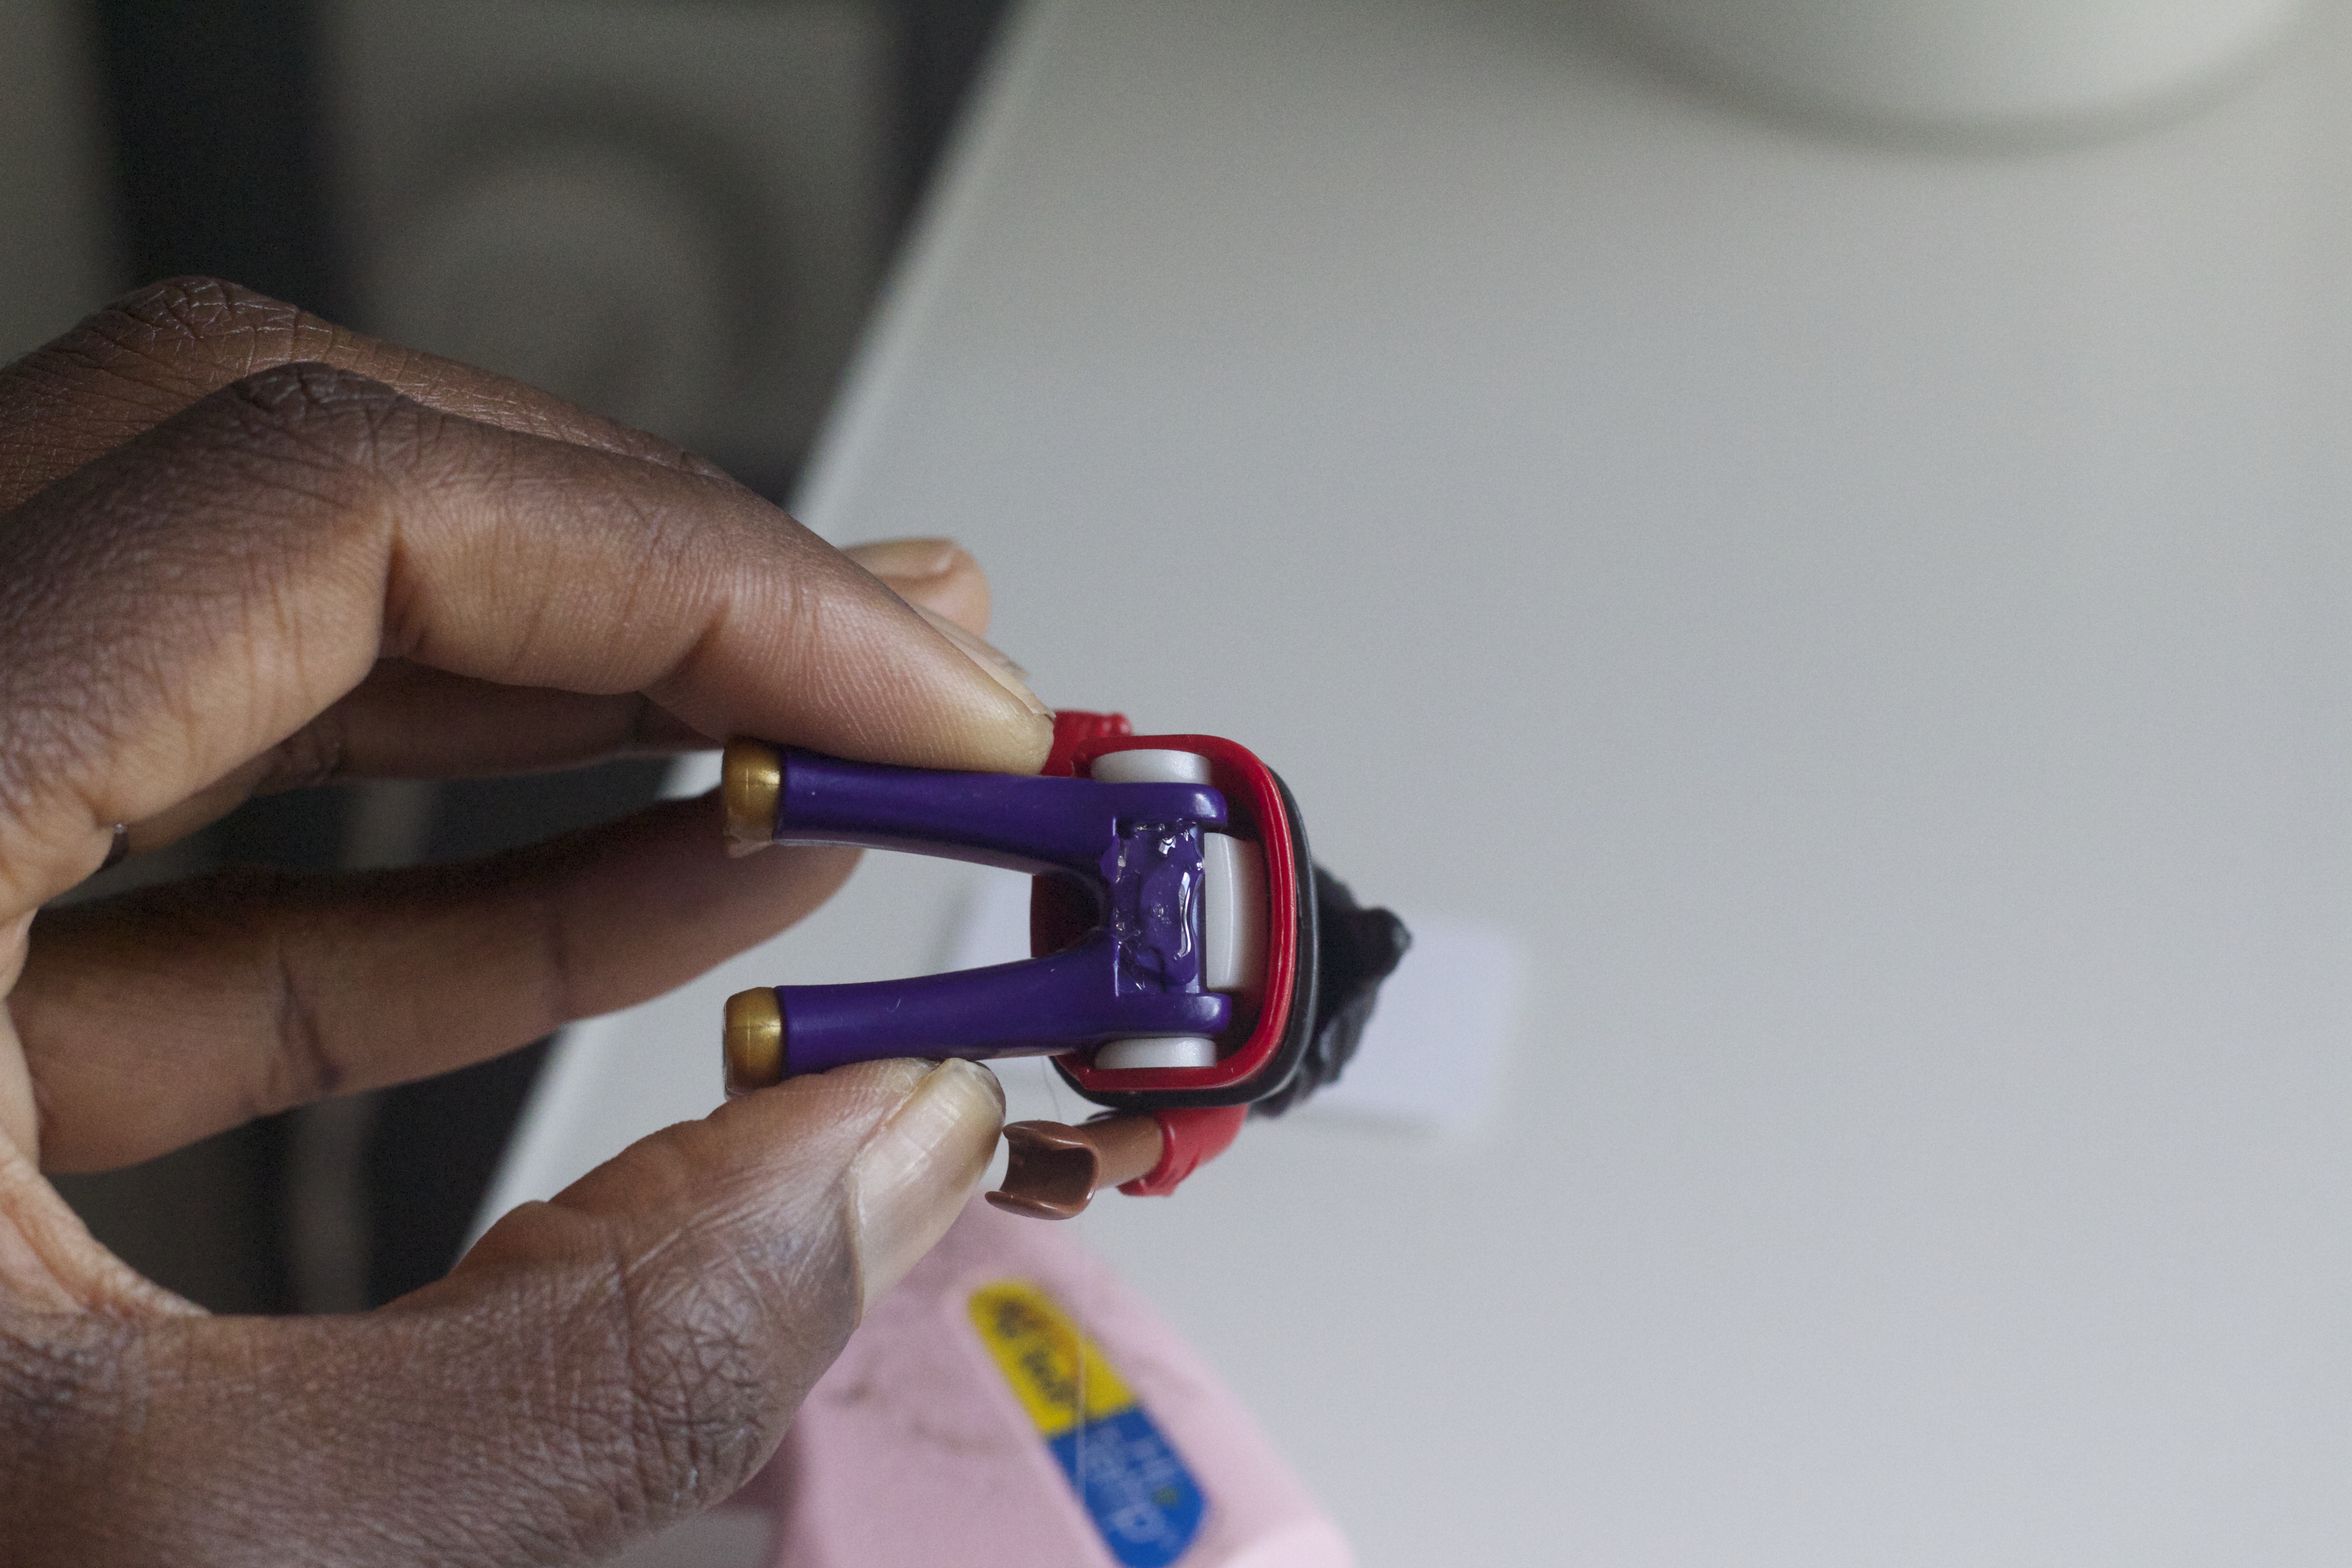
There, like that… Then straighten the Playmobil up to allow the glue to harden.
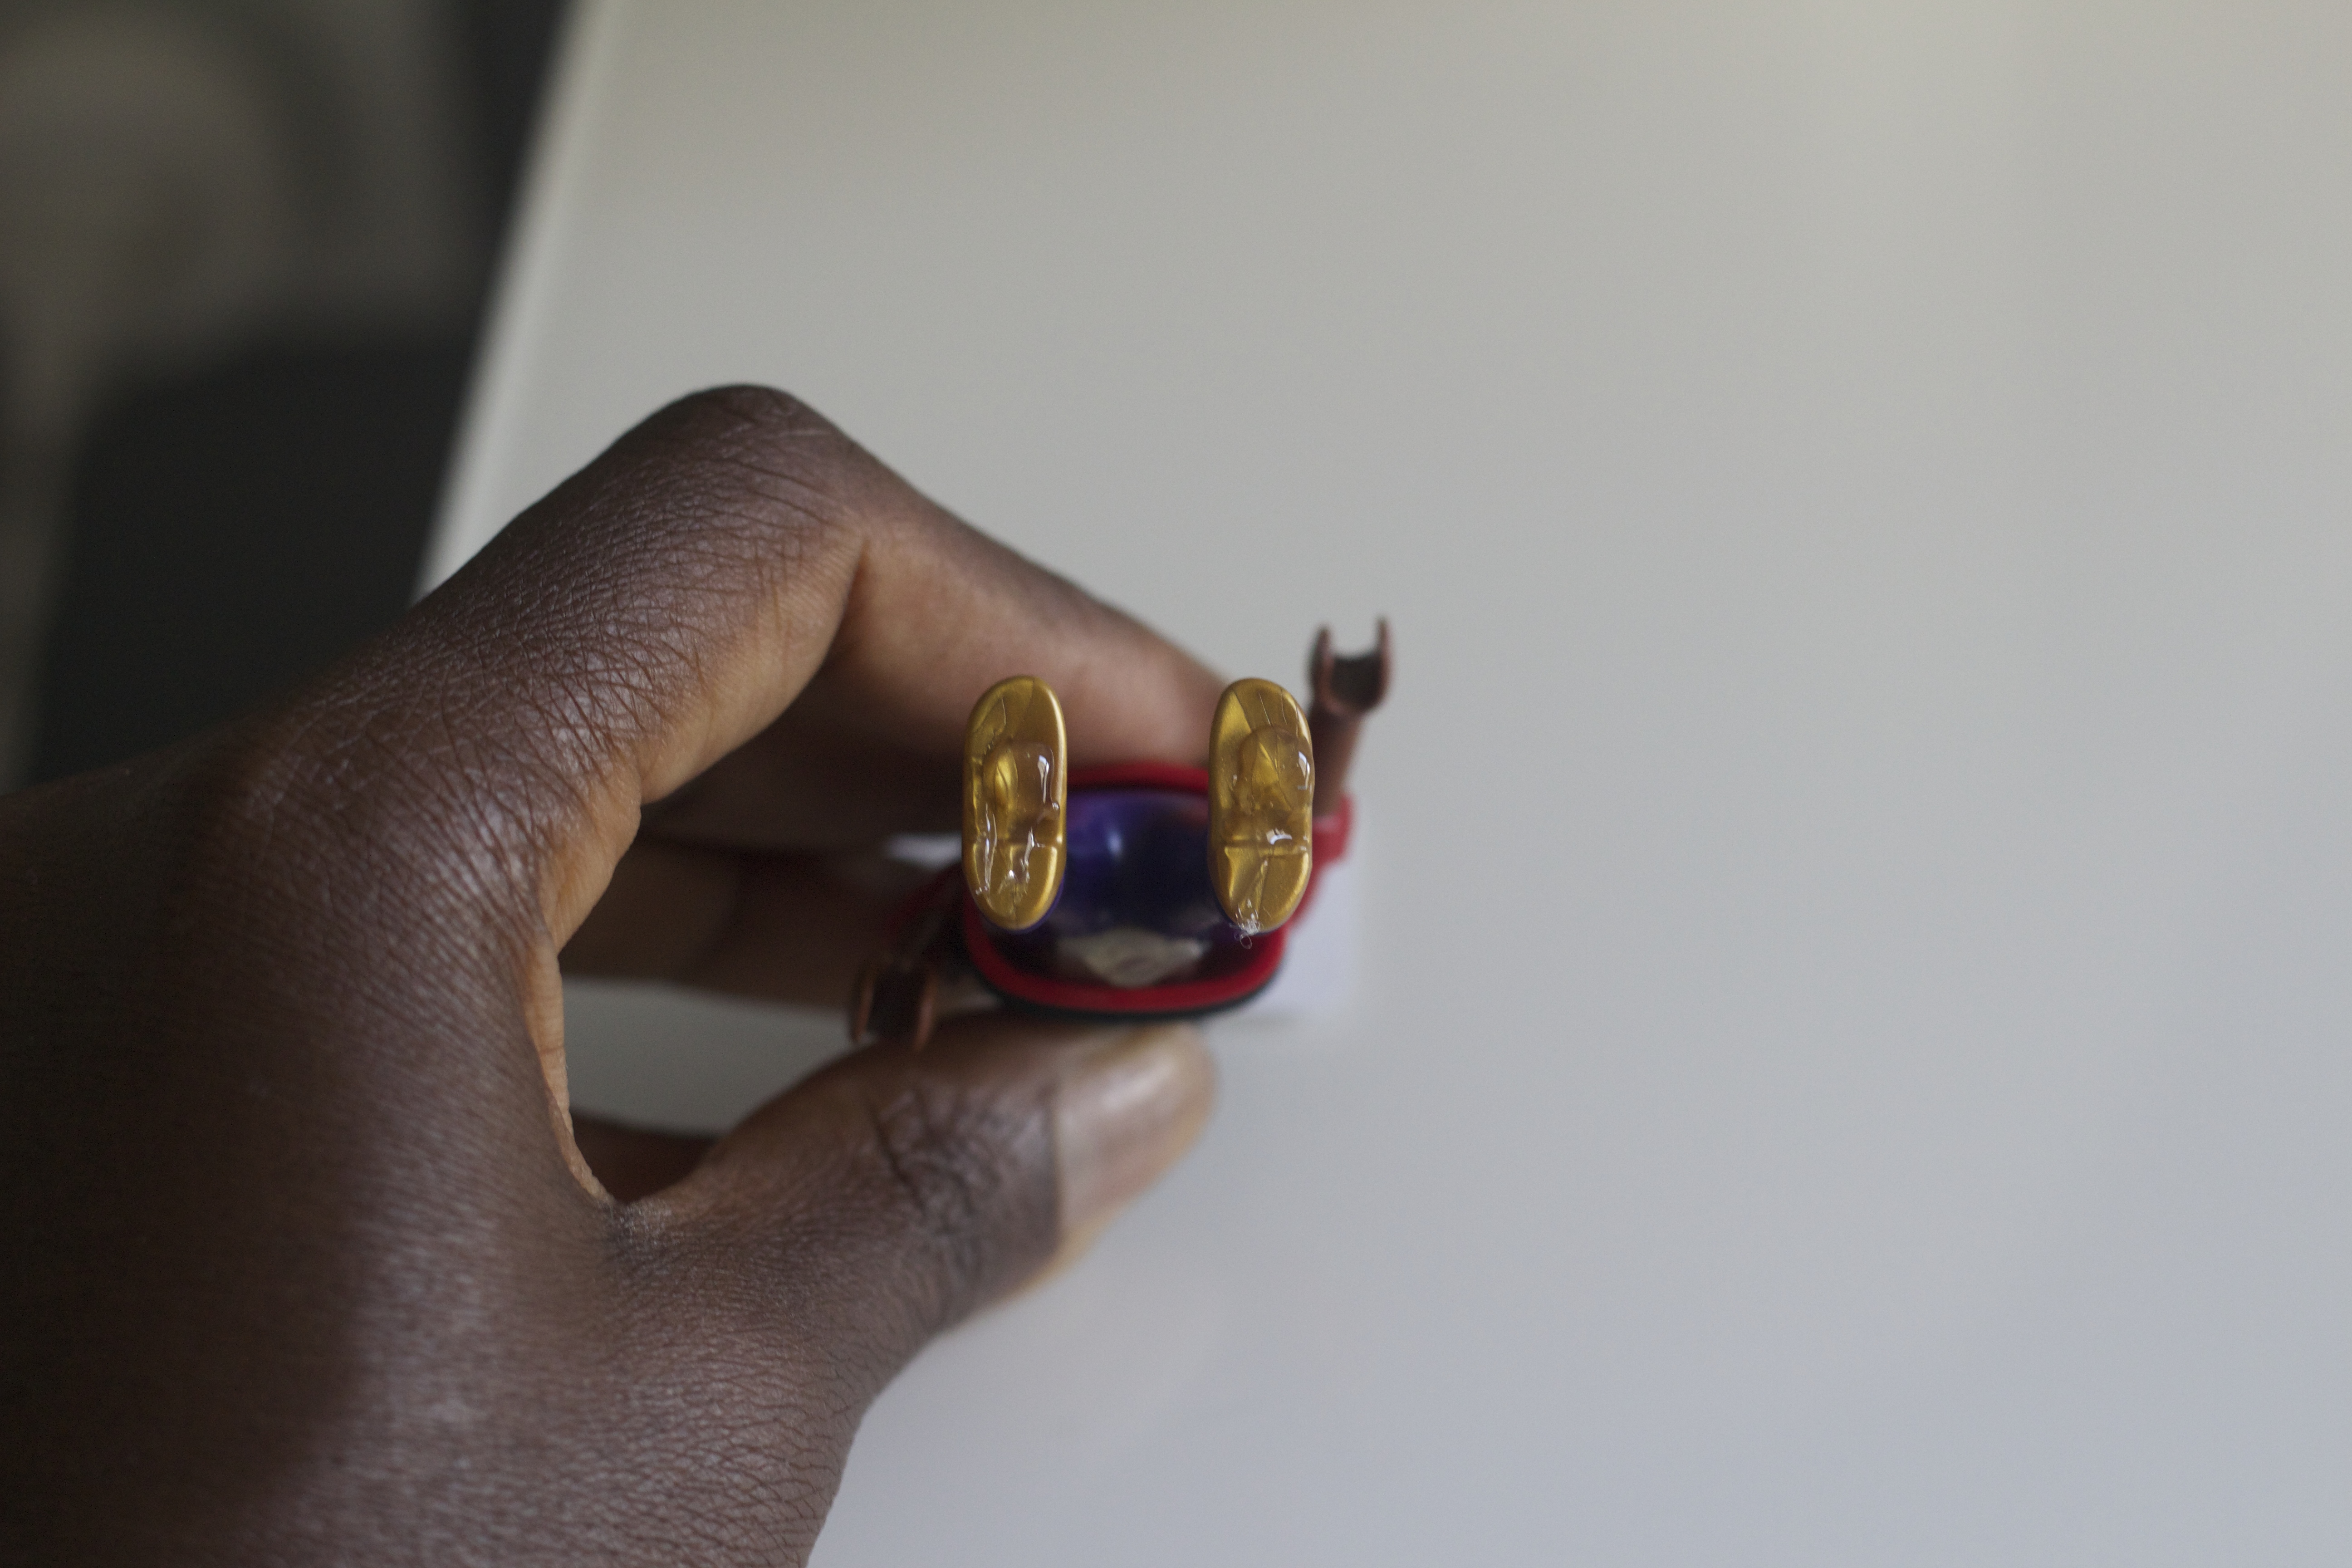
If you want your Playmobil to stay standing, while the gun is still plugged in, put a little glue on the center of each foot…
…then stick it onto the label/base. And there you go!
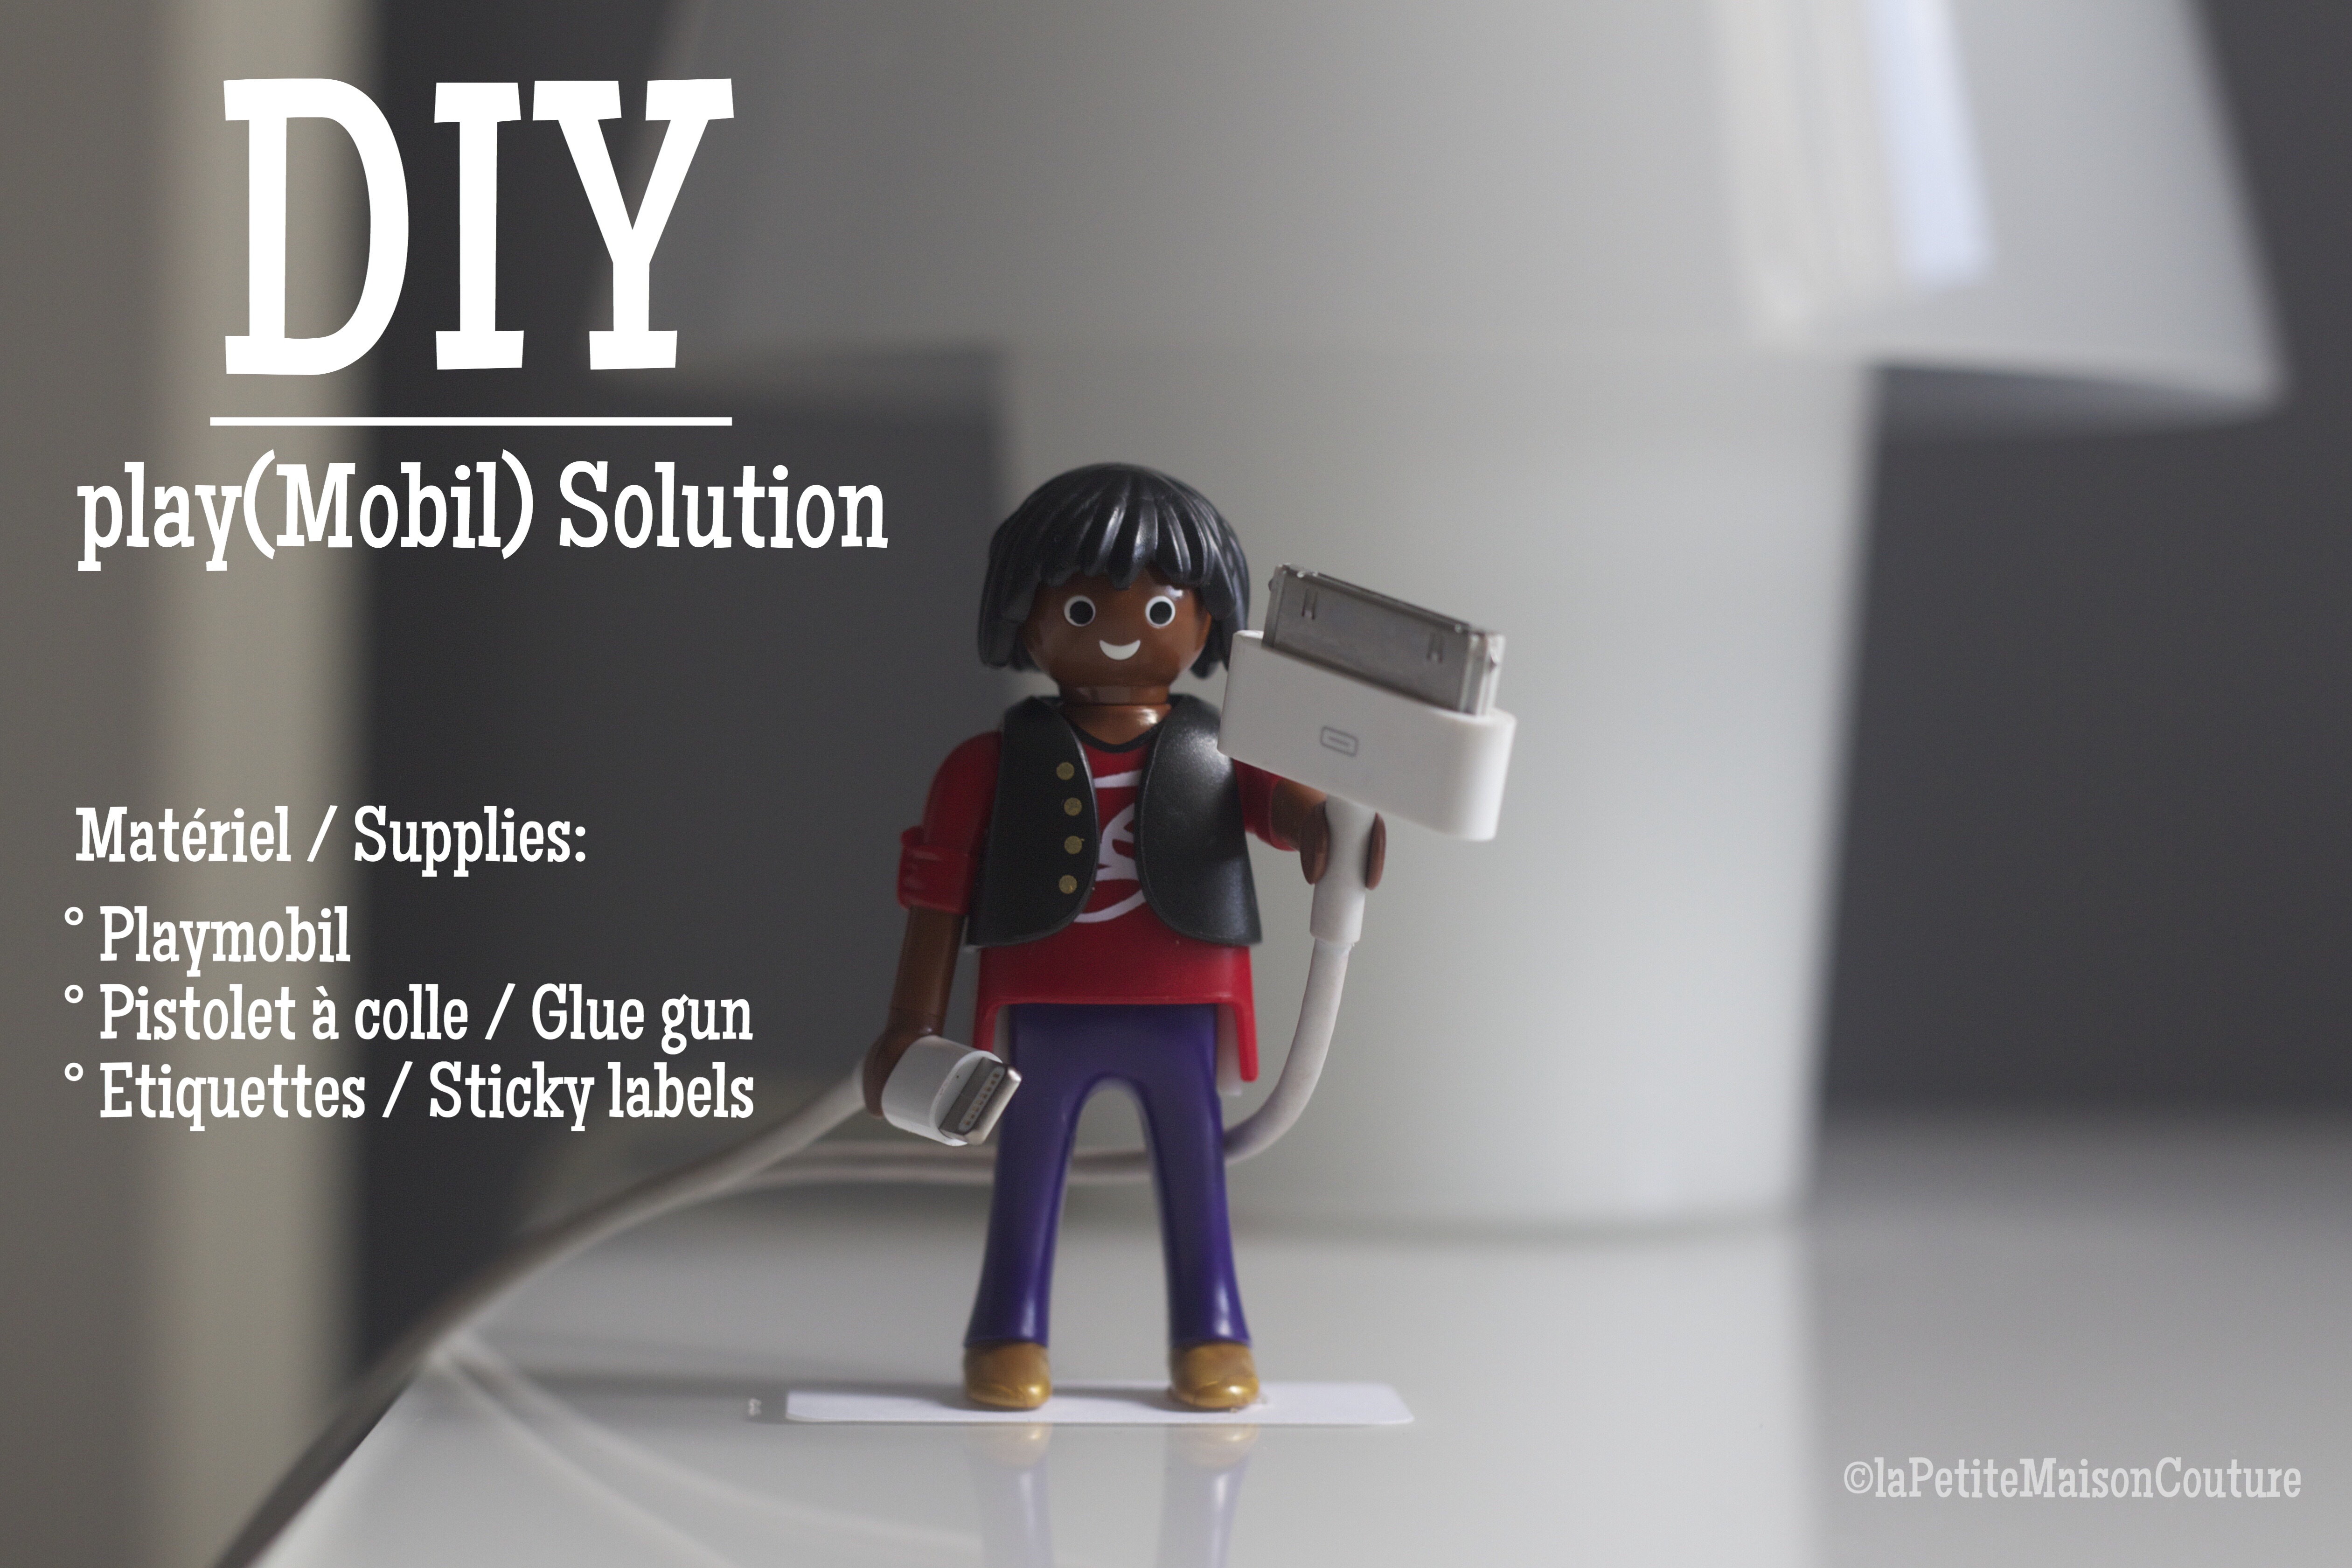
Now look at your Playmobil; he’s standing, sleeves rolled up, and arms outstretched. The guy is ready to work. Hand over the cables—he promises to hold onto them for you until the next charge!
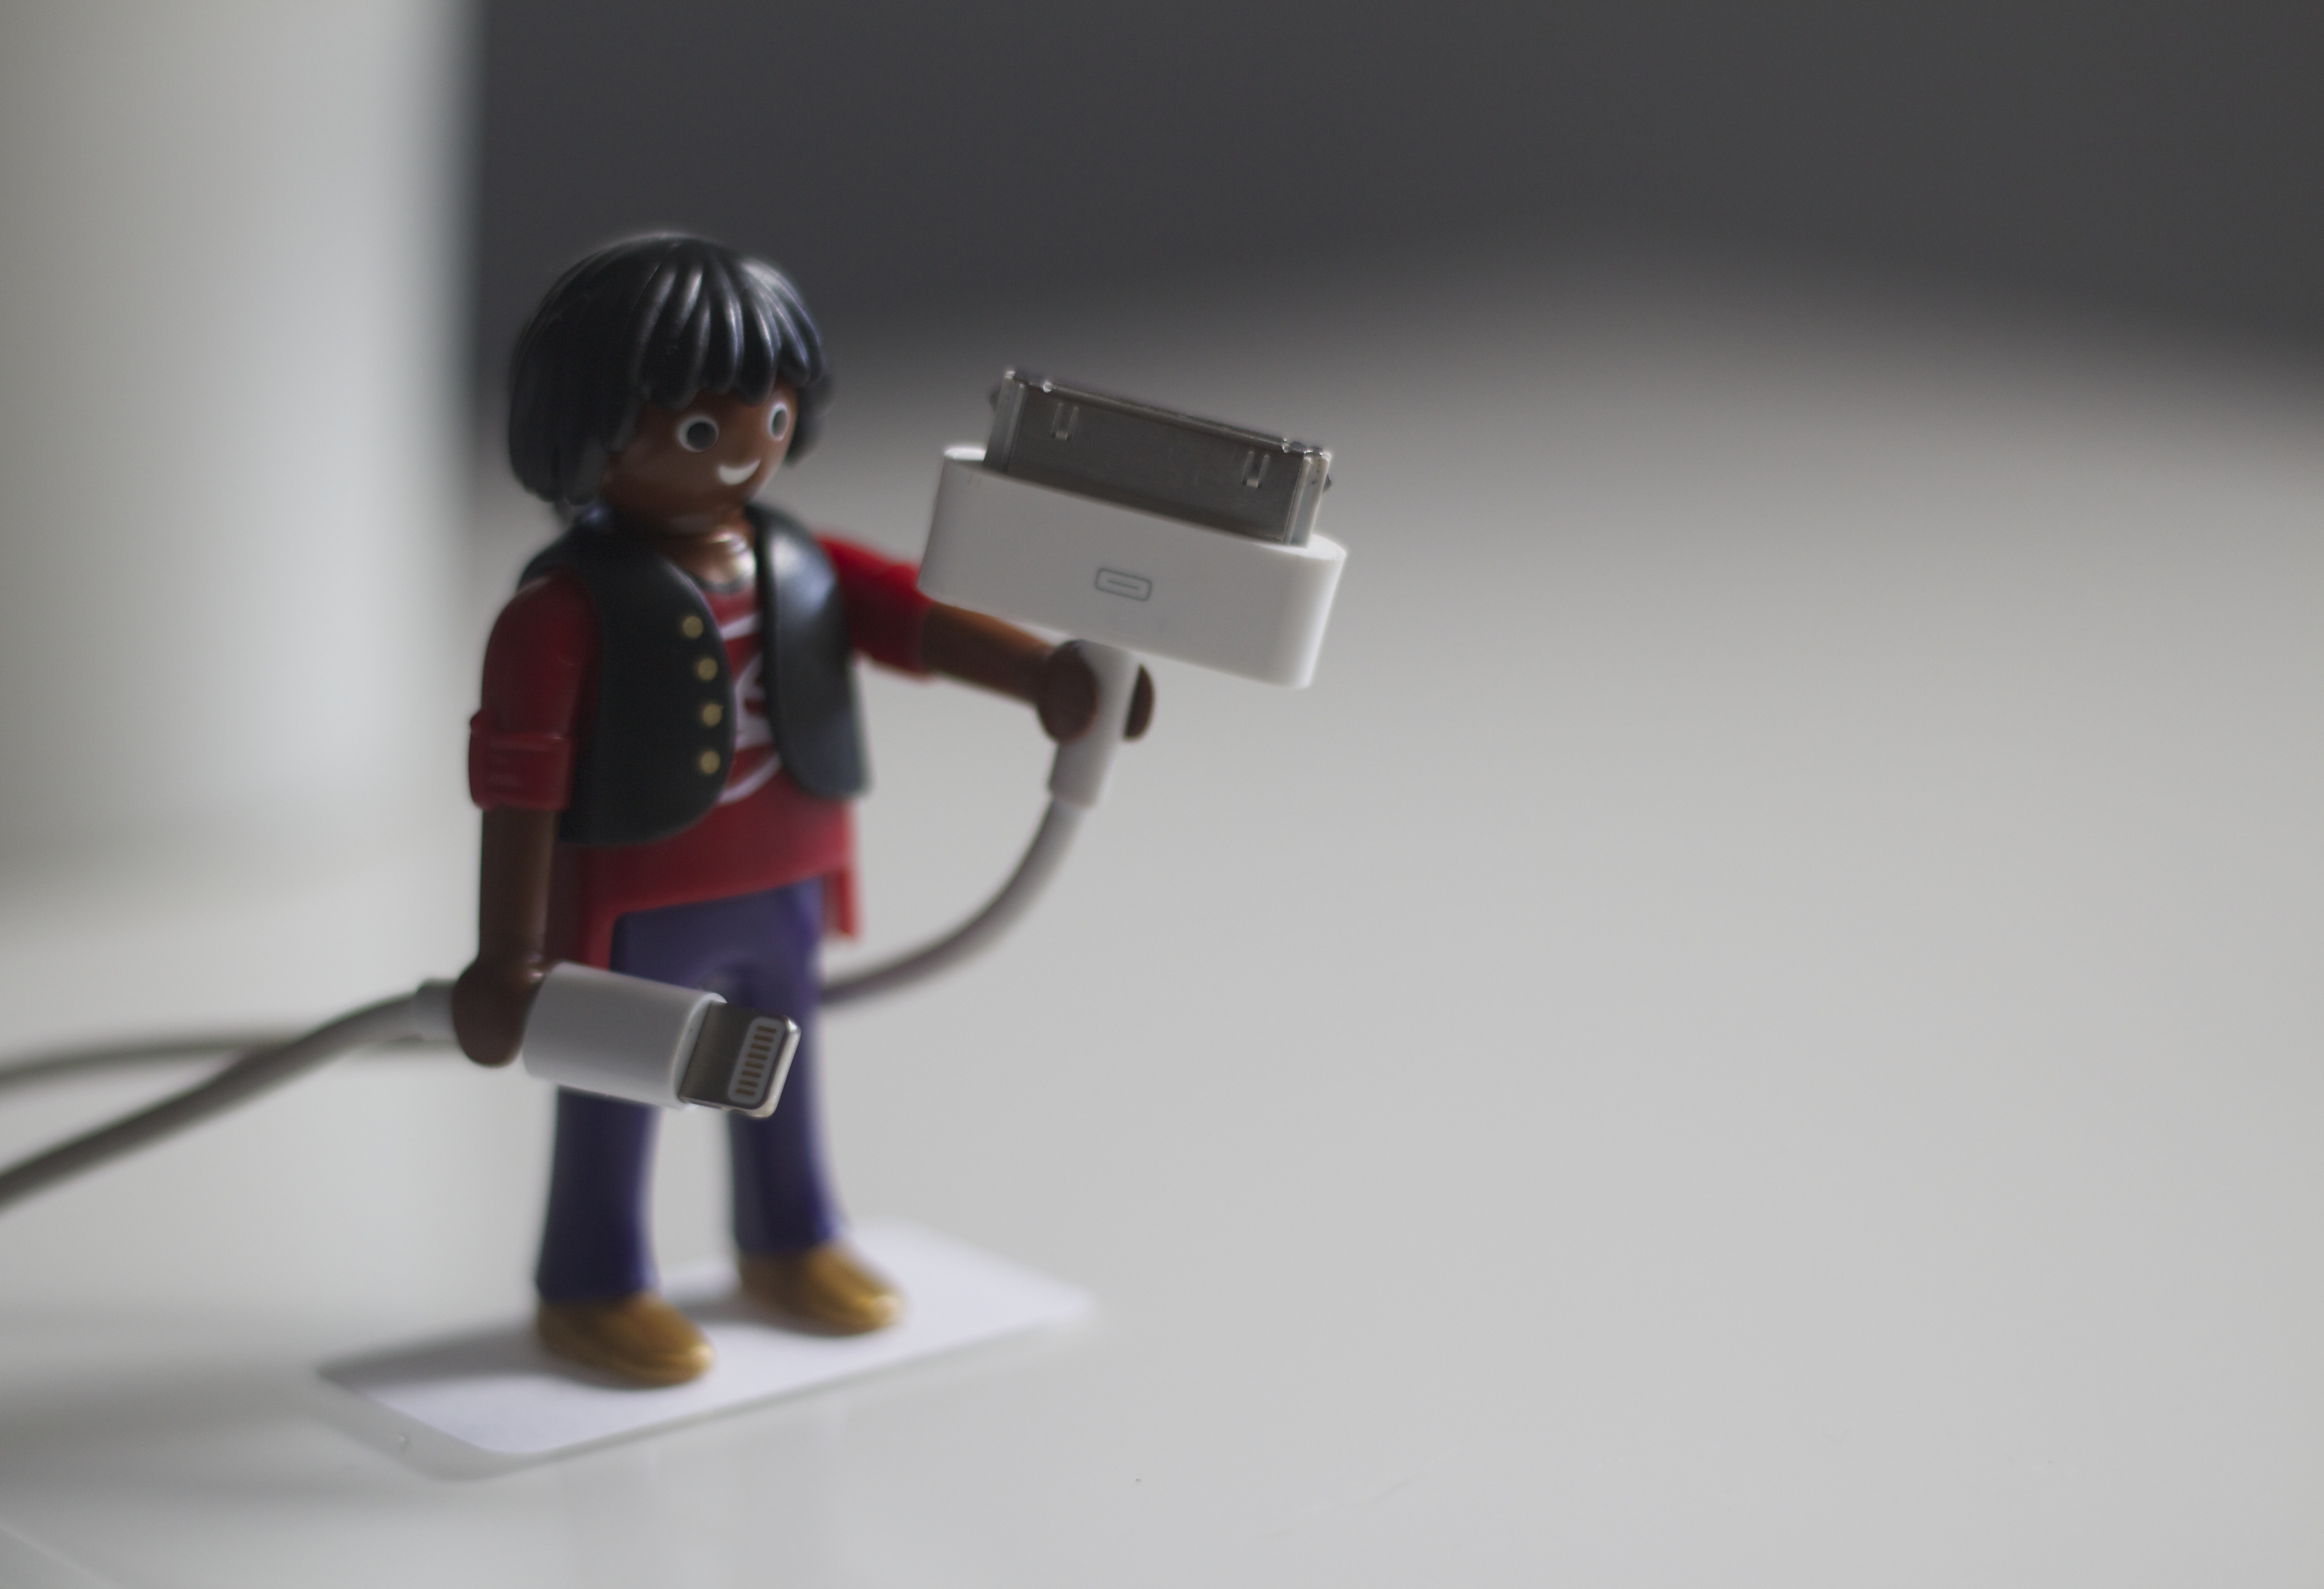
(play)Mobil Solution – Made by YOU!
🇬🇧 🇬🇧 For my English speaking followers – As the images are more or less meaningful I will not be translating this article. However, should you have any question/comment, please do not hesitate to reach out to me in a comment or a private message. I will be more than glad to get back to you.