

Whether you’re working or on vacation, I hope you’re having a great summer. As for me, I only took one week off, but I’m feeling great, with lots of ideas in my head but still a considerable lack of time. I often think that a 27-hour day would suit me perfectly!
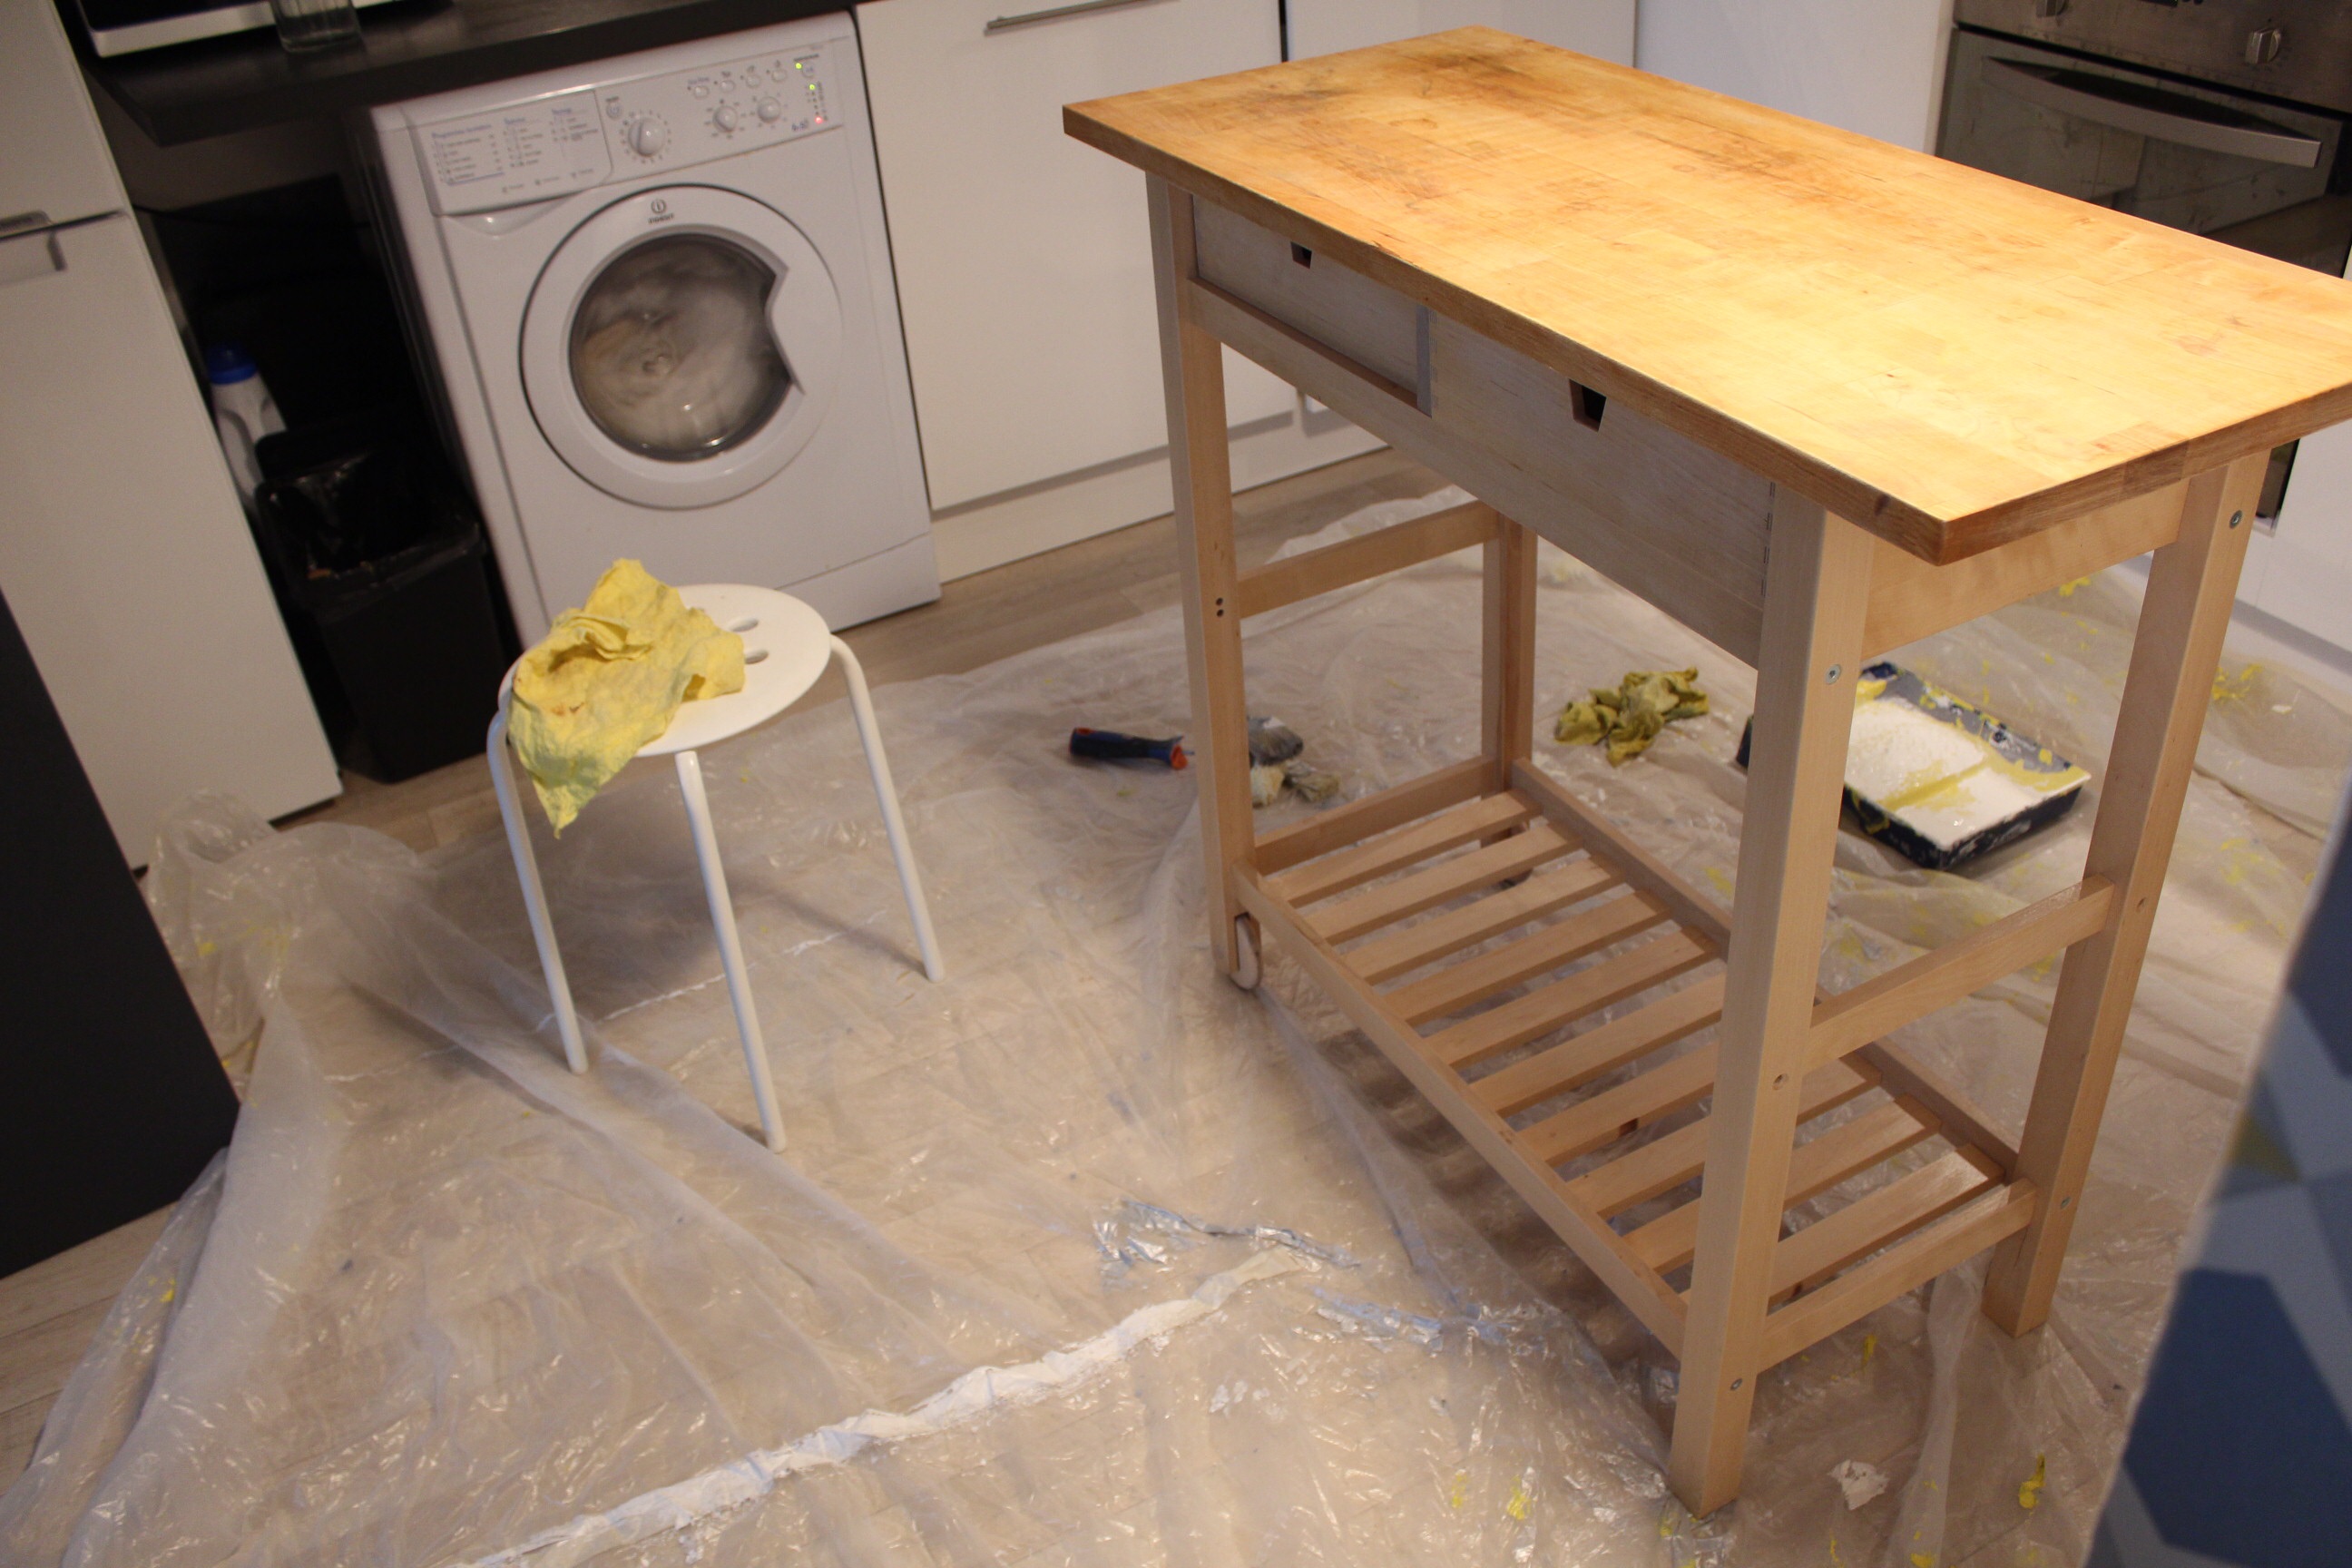
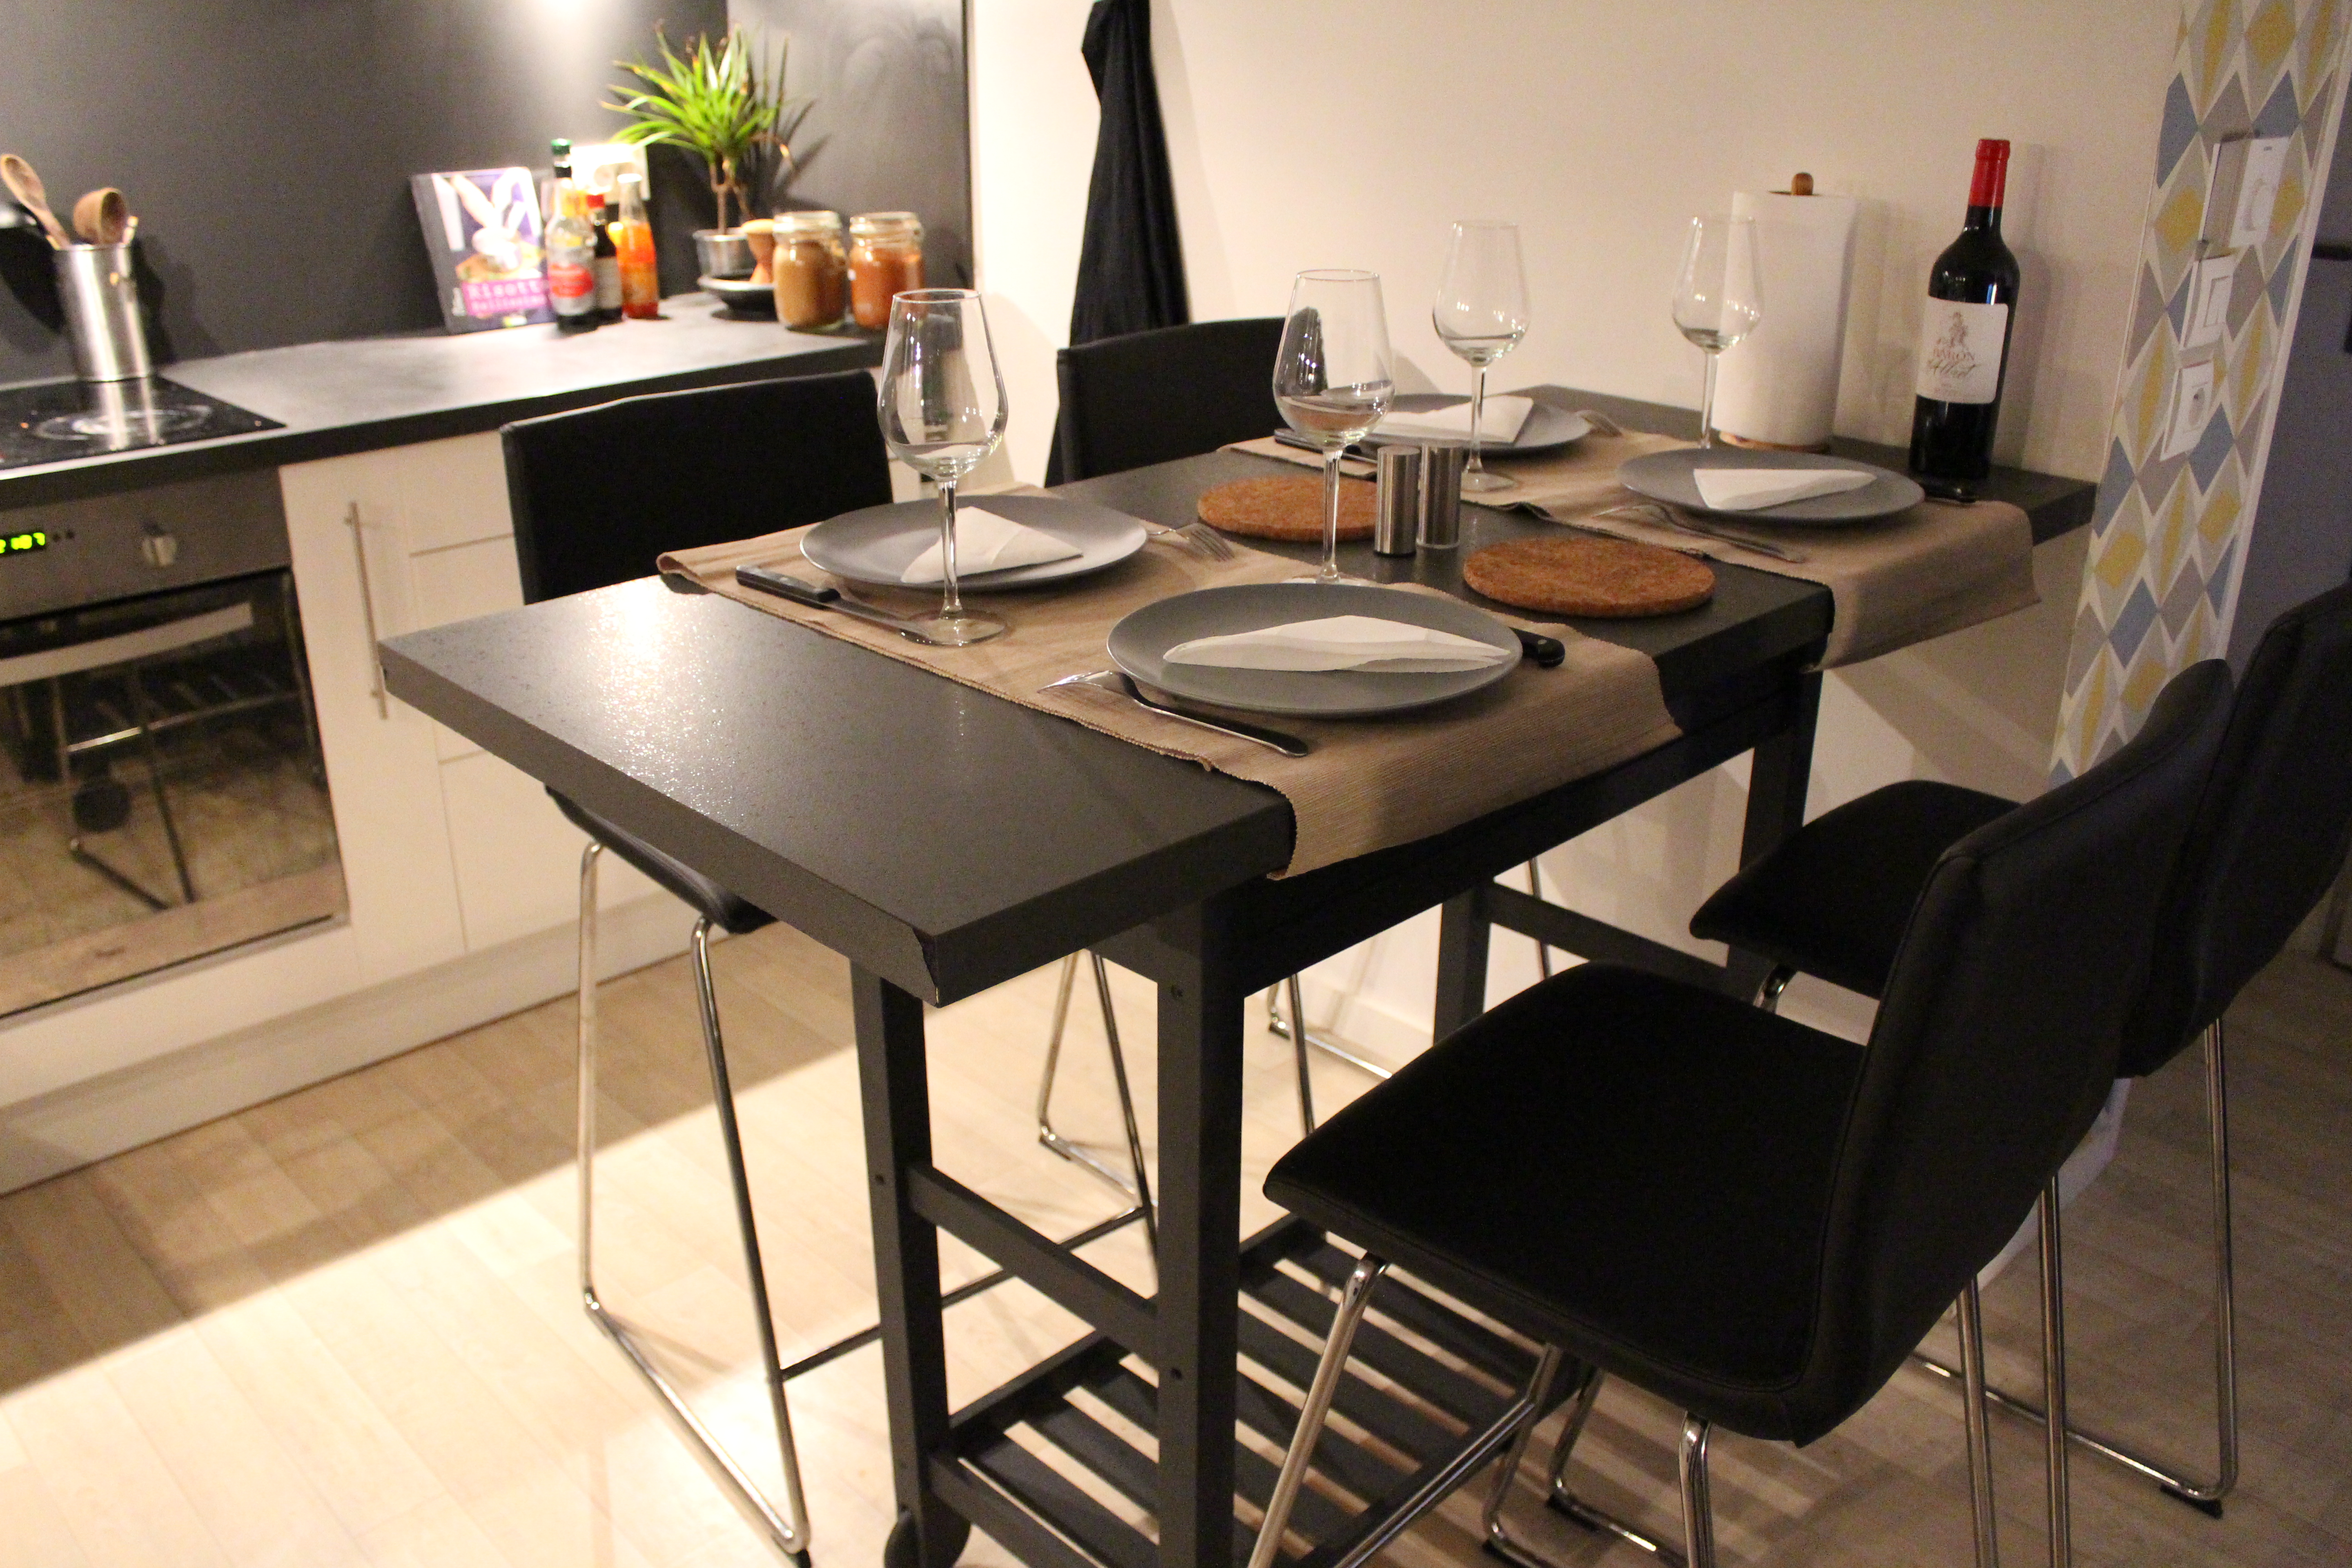
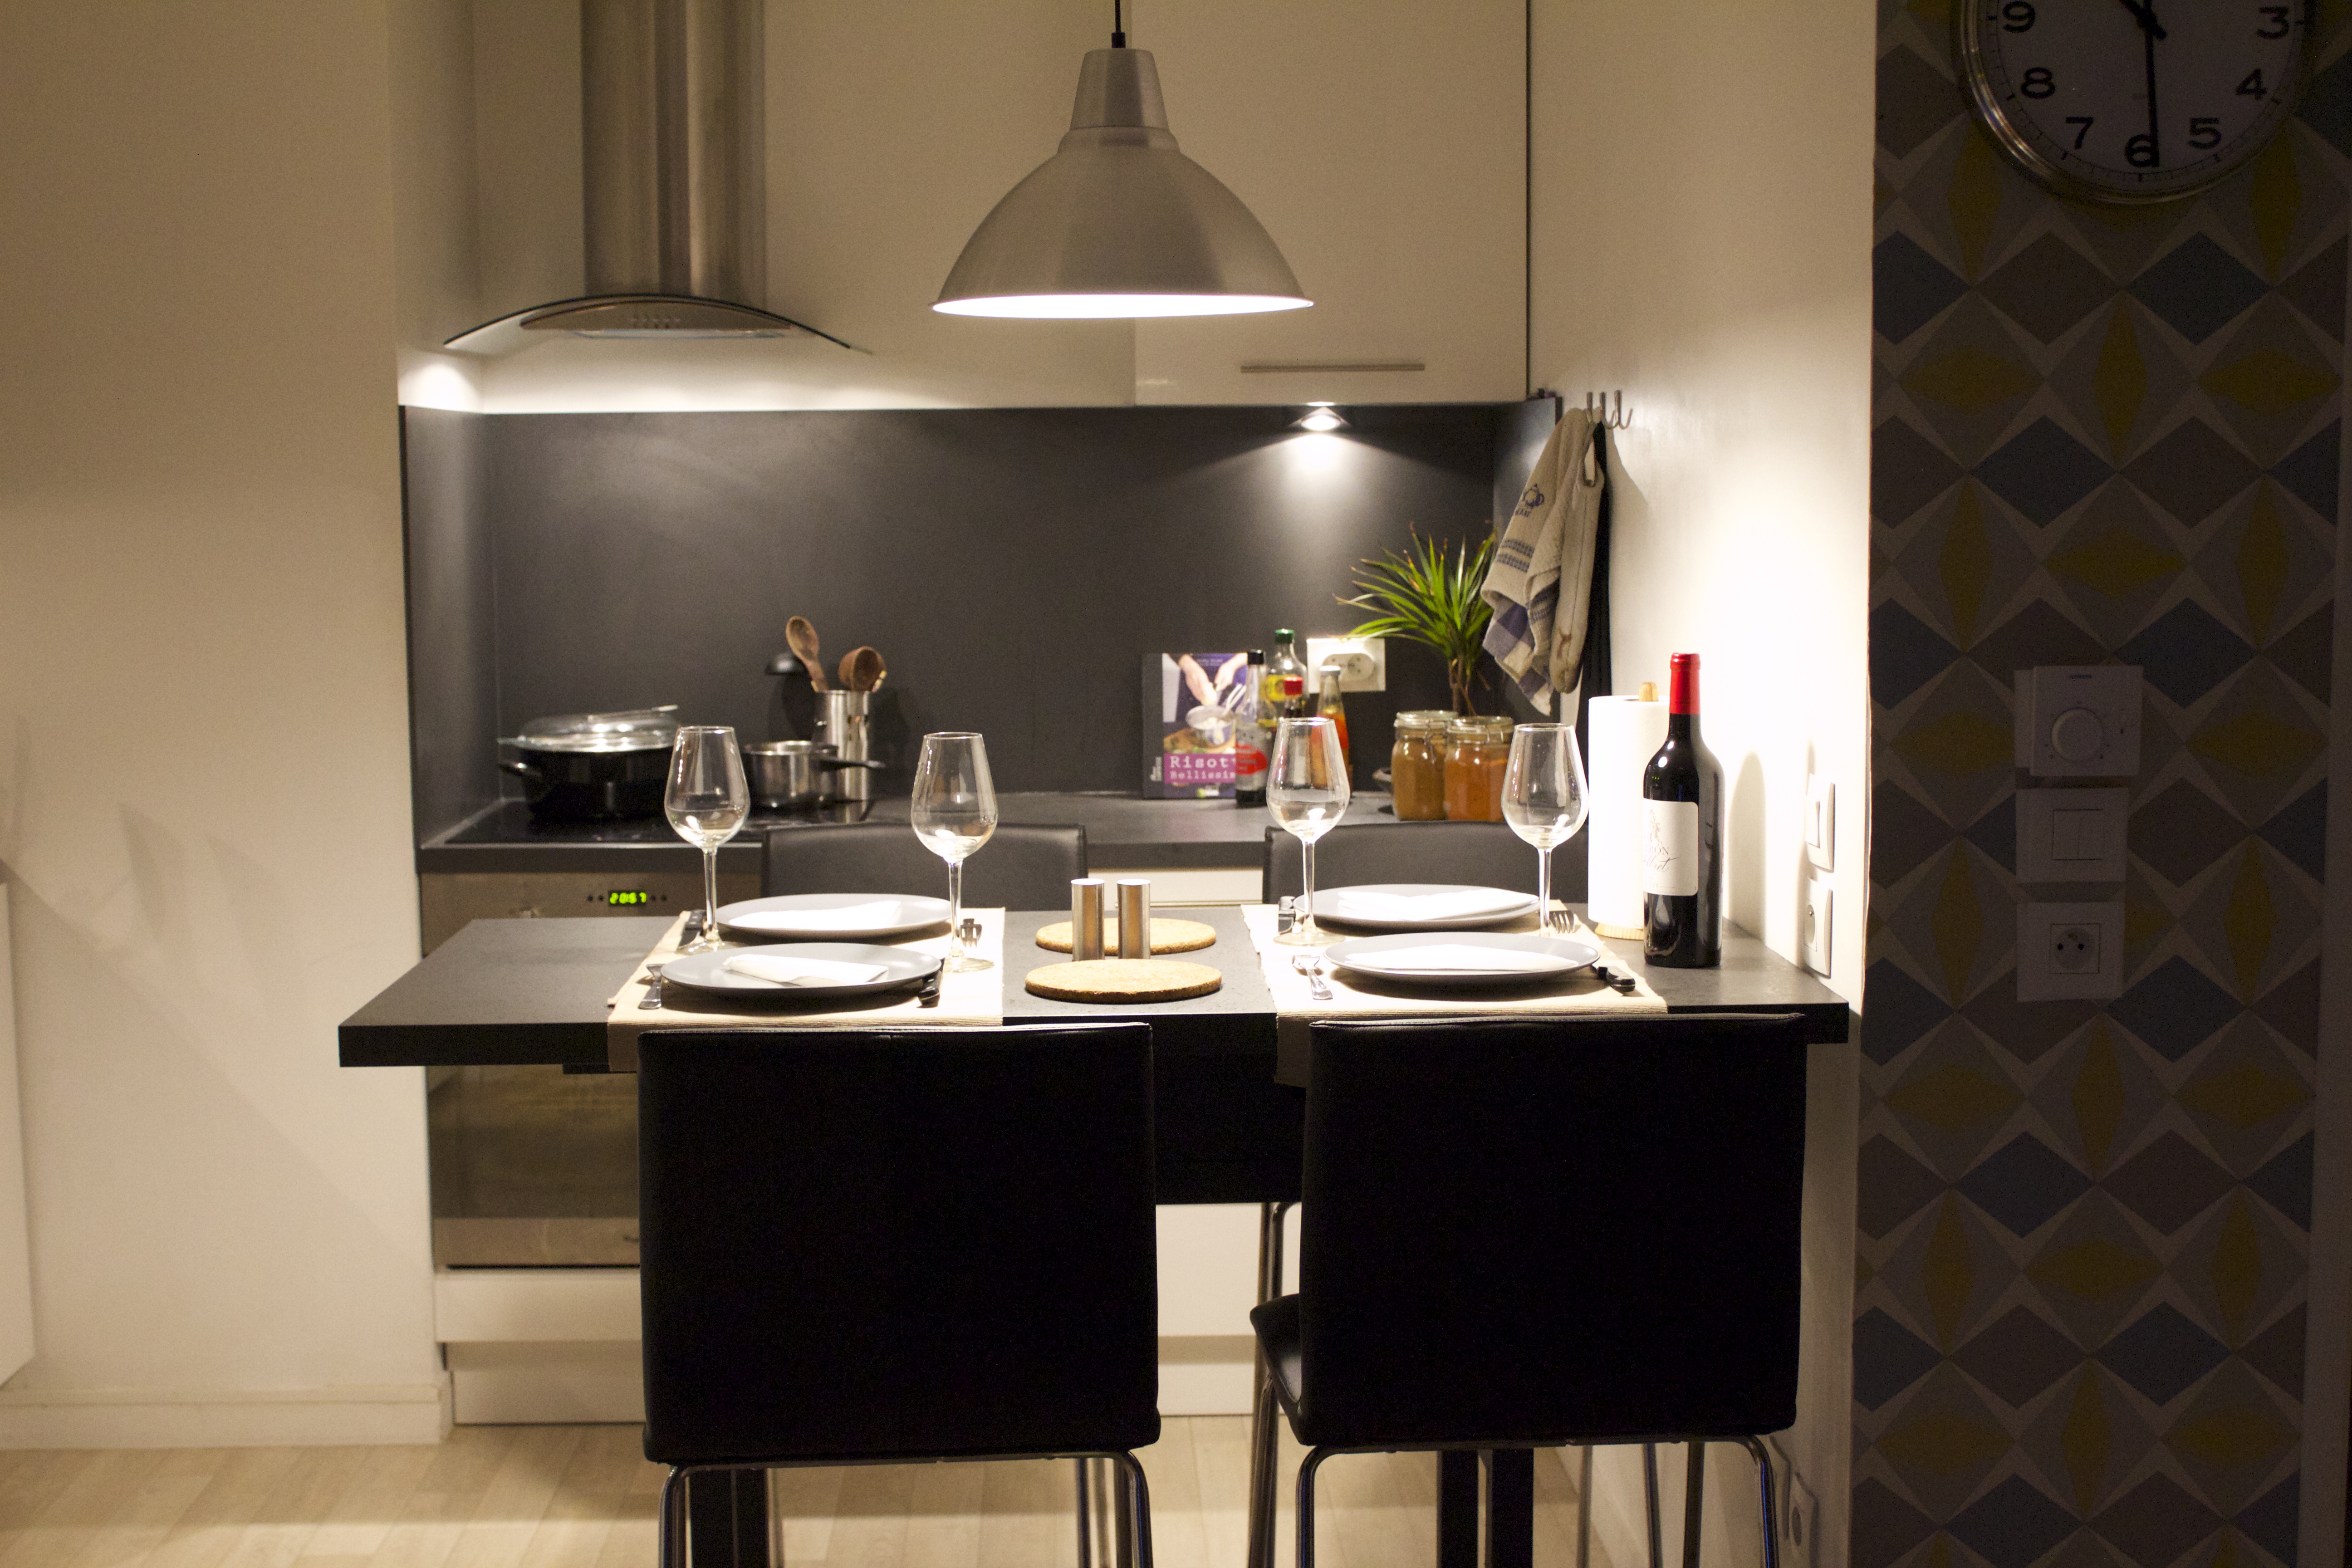
Today we’re going to talk about upcycling objects with a practical case here. Apart from the economic aspect, one of the things I like about upcycling is transforming the object while embellishing it, improving it, and reimagining it for other purposes. This is the case with this FÖRHÖJA kitchen trolley which served as the main piece of furniture in this kitchen before it was fully equipped. Once equipped, this trolley that was once seen as super useful suddenly became a burden. But since a table was missing, there was a way to transform it into a dining table by simply placing the countertop on the trolley.
I hope you are enjoying nice weather. At my side I only took one week off, but I feel good! I even have more ideas but still lack much time. I sometimes think that a day of 27 hours would be perfect for me. Don’t you think so?
Today we are going to talk about salvage with a practical case. One of the sides of salvage that I really like is the fact of altering the item but at the same time bringing some embellishment and improvement to it. This is what I tried to do here with the Ikea FÖRHÖJA kitchen trolley. This trolley was the main furniture item in the kitchen before it became fully equipped. So when it was no longer essential, it suddenly became “too much”. The idea was then to turn it into a dining table by simply placing the rest of the working surface on it.
THE REMAKE IN 3 STEPS / THIS REMAKE IN 3 STEPS
1. Sand / Sanding
Sand the trolley using sandpaper.
Sand the kitchen trolley with sandpaper.
2. Paint / Paint
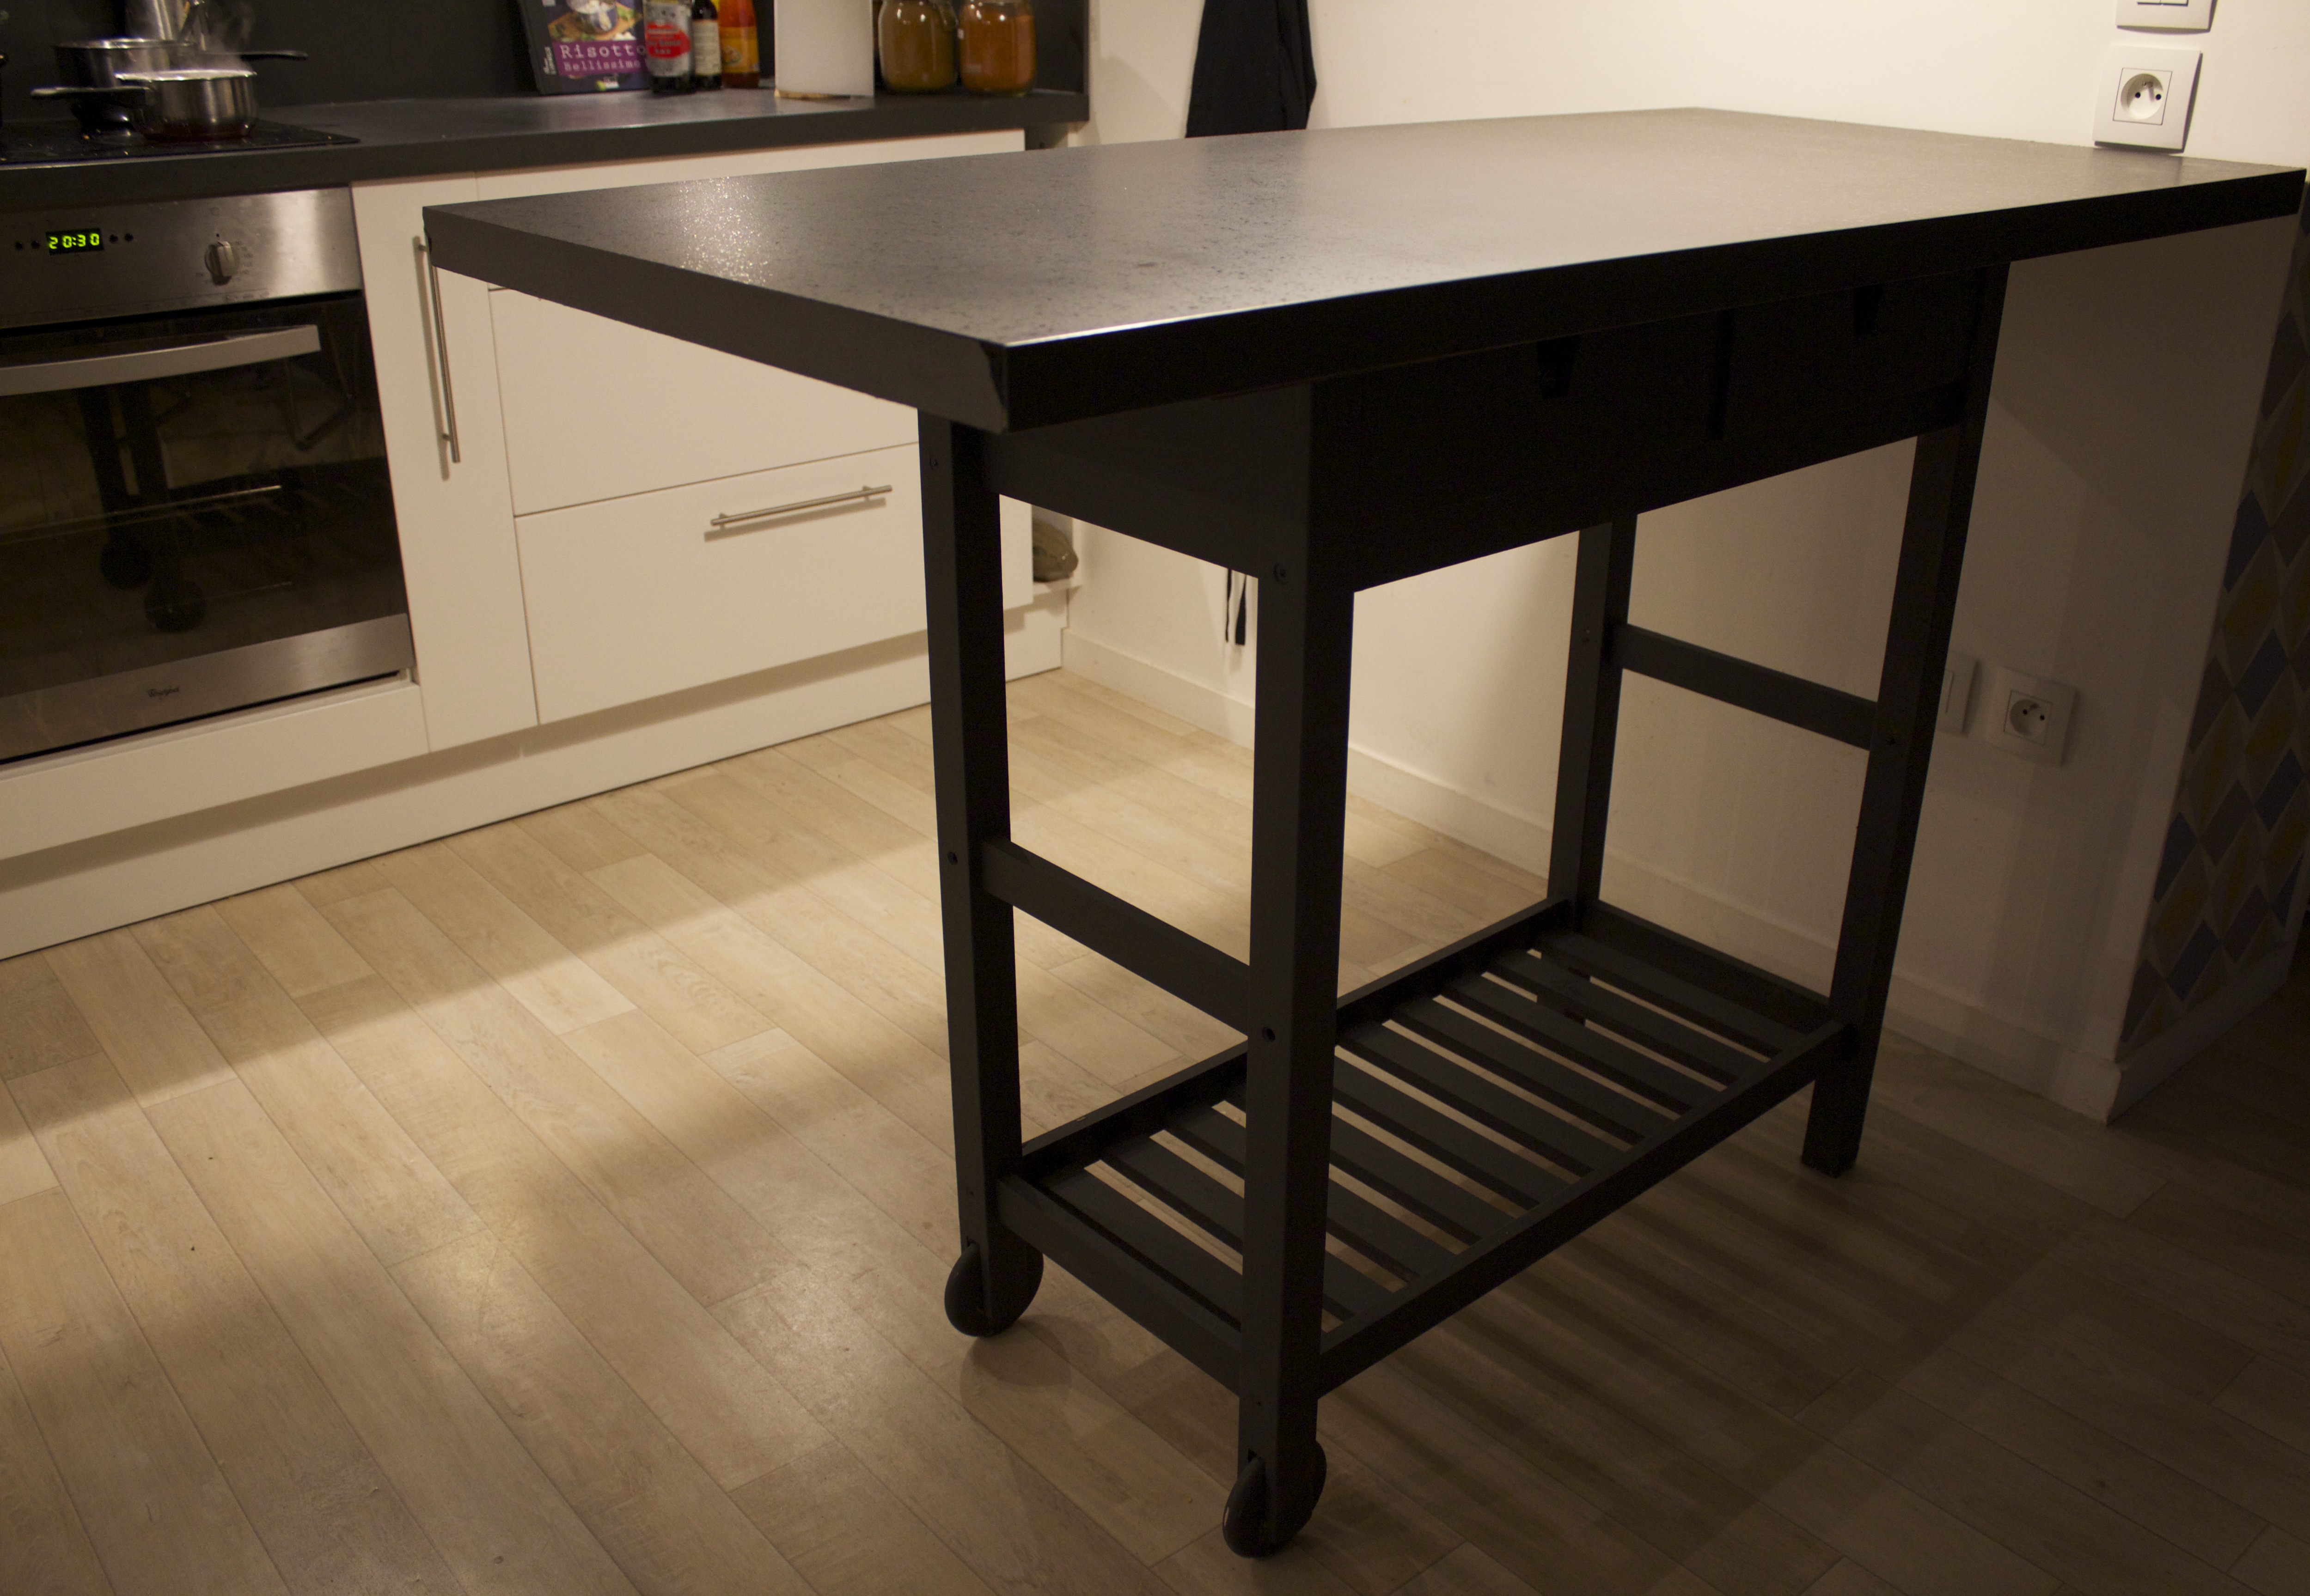
In order to make the countertop and the trolley look like a single piece of furniture, I used a paint color that was as close as possible to the color of the countertop.
In order to make working surface and trolley look like a single piece of furniture, I used a color that was very close to the working surface.

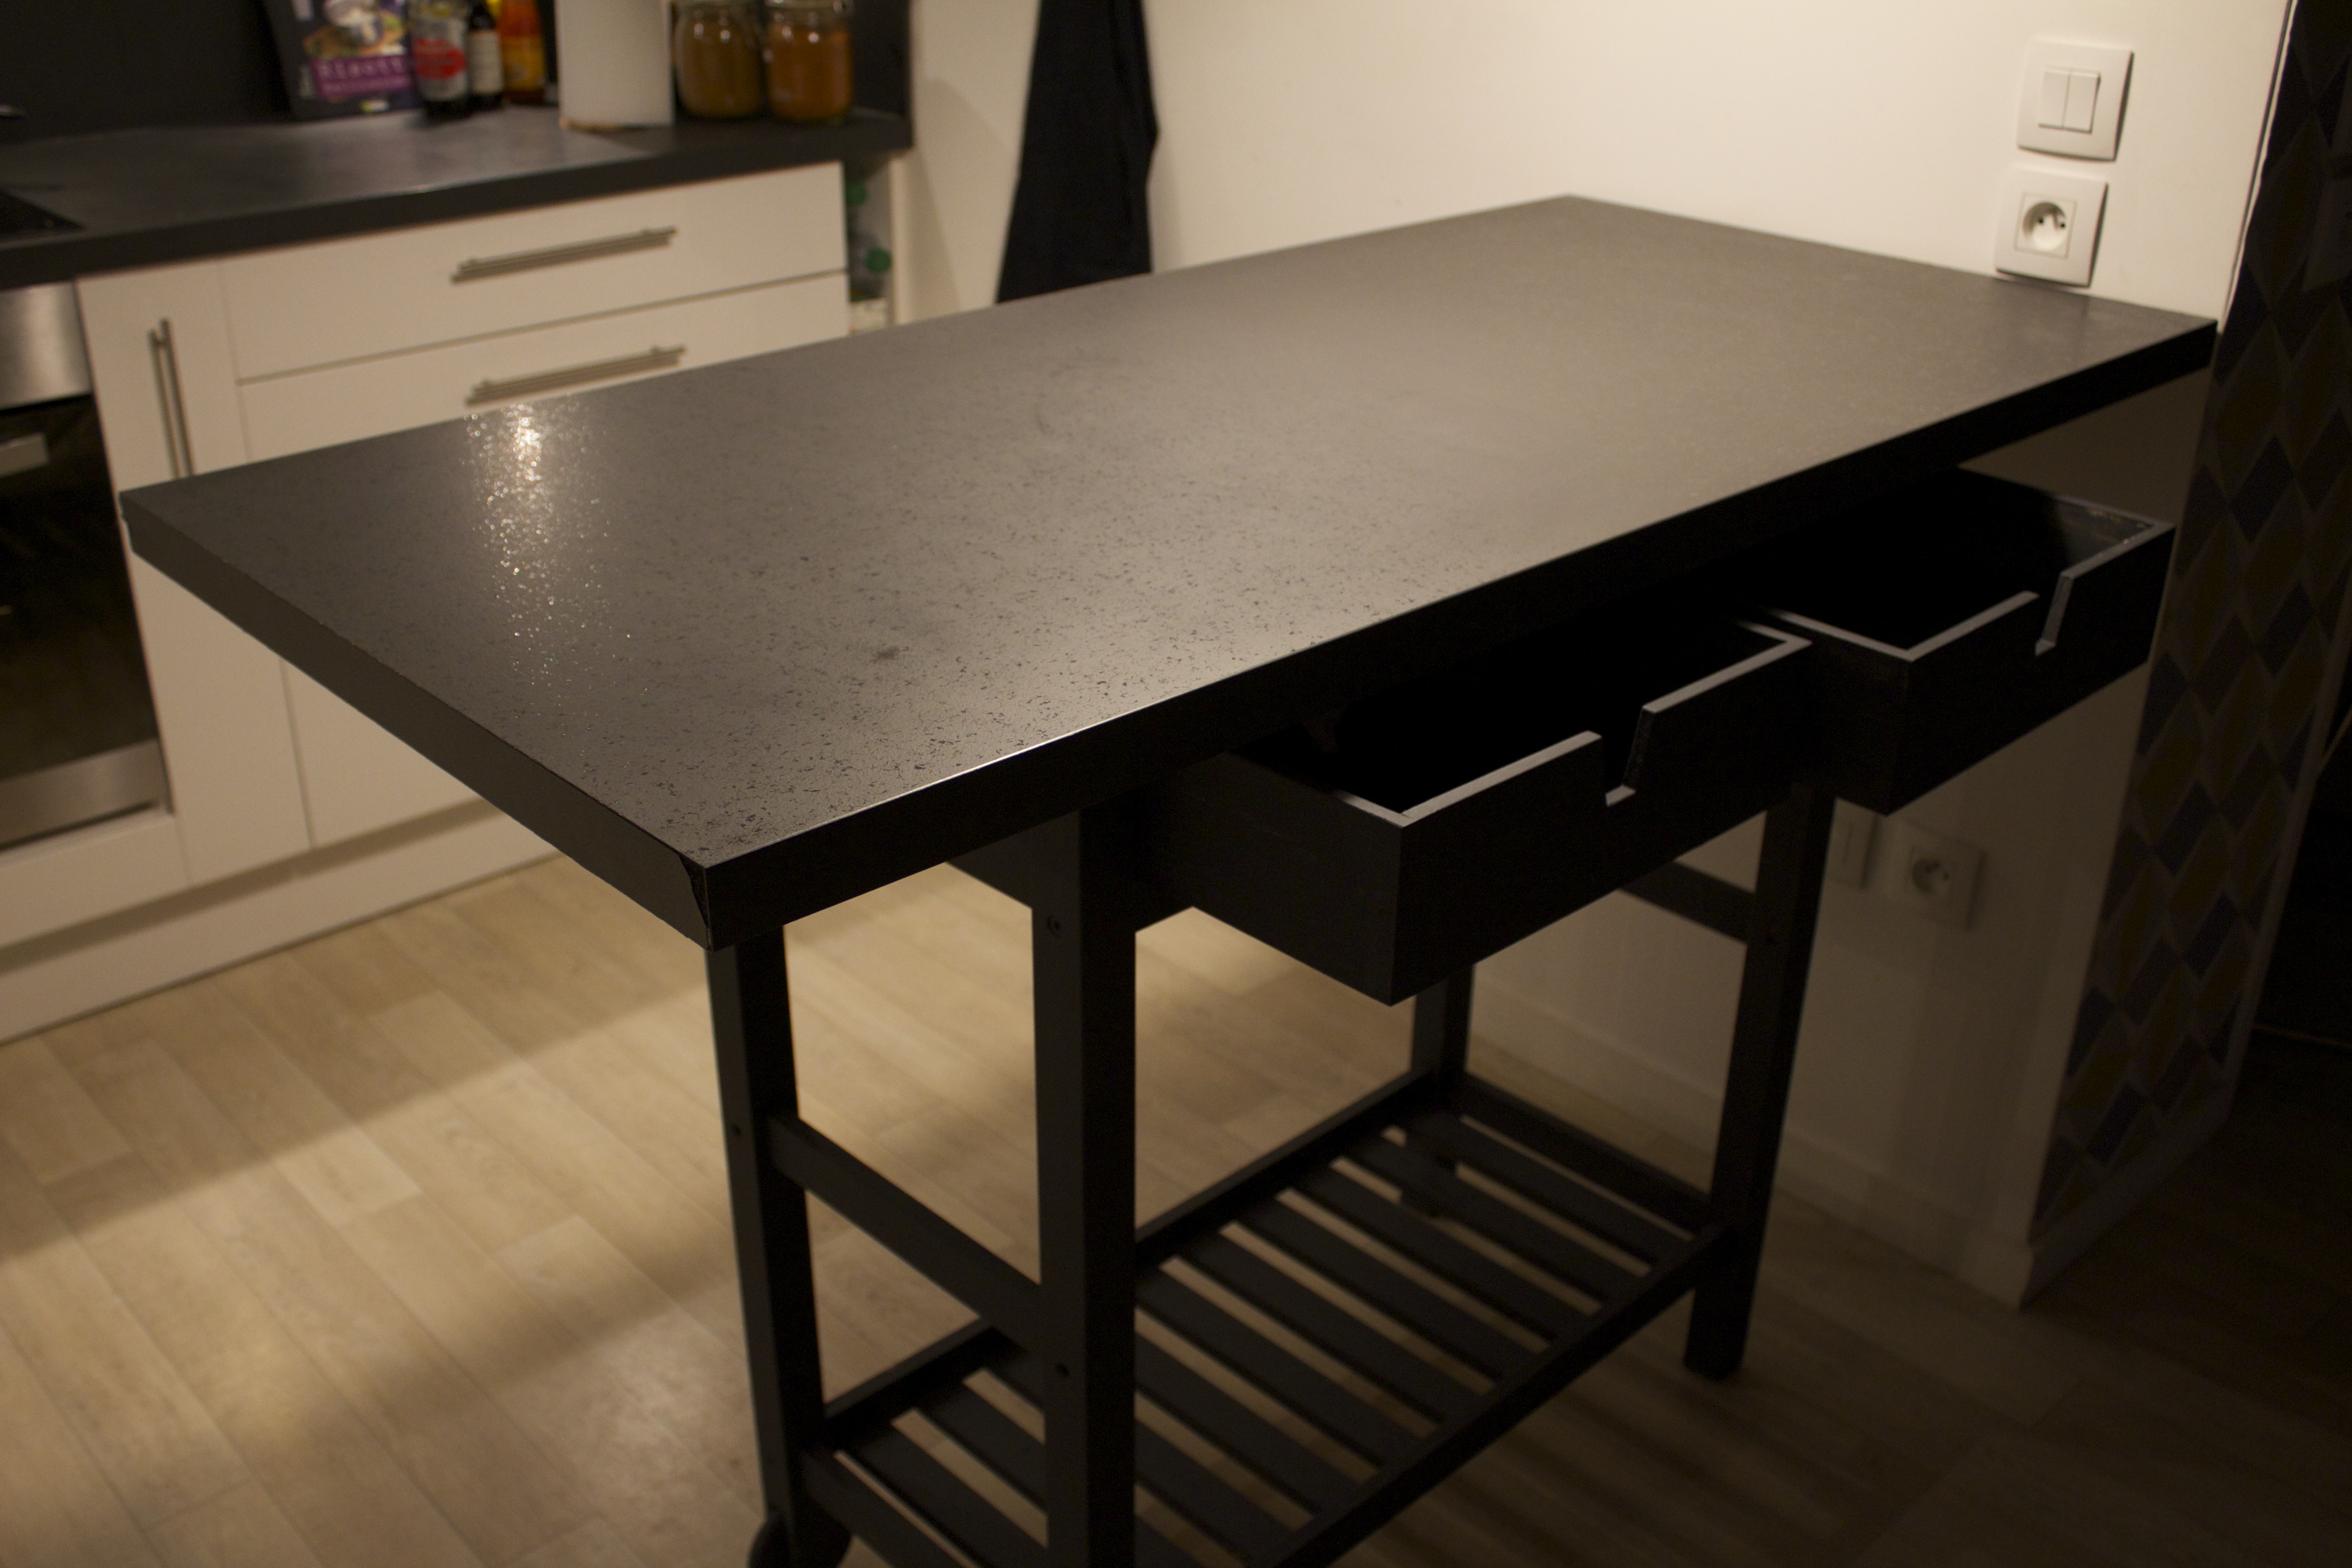
3. Assemble / Assemble
Once the trolley is dry, place the previously measured and cut countertop on the trolley (135 x 65 here). And you’re done!
Once the trolley is dry, measure and cut the work surface (135 x 65 here) and simply place it on the trolley. You’re done!
Did you find this post useful? Did you get any new ideas? I’d love to know. Oh yes, before I forget, you might be interested in seeing the hack I did of the Poang chair from Ikea.
Thanks for reading 🙂
Did you find this post useful? Did it give you new ideas? I would love to hear about them. Oh, before I forget, you might want to have a look at my Ikea hack of the Poang chair.
Thanks for reading 🙂